Step 1: Log In

Step 5: View Constraint Groups

Step 6: Open a Constraint Group

Step 8: Submit Your Home Request

Step 10: Review Process

Step 12: Update and Submit the Copied Constraint

Final Step: Completion
- Begin by logging in with your email address and password.
- If you have forgotten your password, click "Forgot Password" to reset it at https://home.gotsport.com/login/

- Once you have signed in, your profile will be visible on the dashboard or homepage

Note:
If you are redirected to your account homepage, follow these steps to switch to your organization's account:

If you are redirected to your account homepage, follow these steps to switch to your organization's account:
- Go to the top-right corner of the screen.
- Click on the nine dots

- It will display your specific organization’s administrative role. After clicking there, you will be able to see your organization’s dashboard.
Step 3: Select the Upcoming Season Schedule
- From the available options, click on the upcoming season's schedule to proceed
Step 4: Navigate to the New Page
- After clicking on the upcoming season schedule, a new page will open with relevant information and options.
NOTE*** You can also access the USL Championship 2026 page by going to Scheduling and selecting As Participant from the menu on the left side.

- A new window will open displaying USL Championship 2026.
- Click on Details to view more information about the event.

Note*** This will open the same page as the one accessed by clicking the upcoming season schedule directly, so either navigation method leads to the same destination.
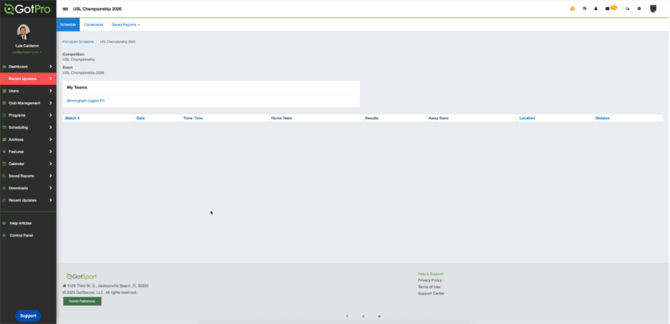
- Click on Constraints.
- You will see the constraint groups created by your organization, where you can submit your own constraints.
Step 6: Open a Constraint Group
- Click on one of constraint groups.
- A new window will pop up displaying the details and submission options for that group.
- Click on New Constraint to submit a request.

- Within the pop-up window, click on Available Constraint Type (Home Request for this example) to begin submitting your scheduling preferences.
Step 8: Submit Your Home Request
- You can now select the specific rounds or days when you prefer to play at home, as indicated by the constraint.
- After making your selections, choose your team from the list and provide a reason for your request.

- Once you’ve completed all the required fields, click Save to submit your home request.
Step 10: Review Process
- After submission, the organization will review your request and either accept or reject it.

- Instead of clicking New Constraint for additional requests, you can click Copy to duplicate an existing constraint.
- Then, simply update the dates to add additional requests with different rounds/dates.
Step 12: Update and Submit the Copied Constraint
- After clicking Copy, update the From Round and To Round fields as well as the reason for the constraint.
- Once completed, click Save to submit the updated constraint.
Final Step: Completion
- That’s it! You’ve successfully submitted your constraint to inform the organization of your availability preferences. Now, simply wait for them to review and either accept or reject your request.