Instructions:
Step 1:
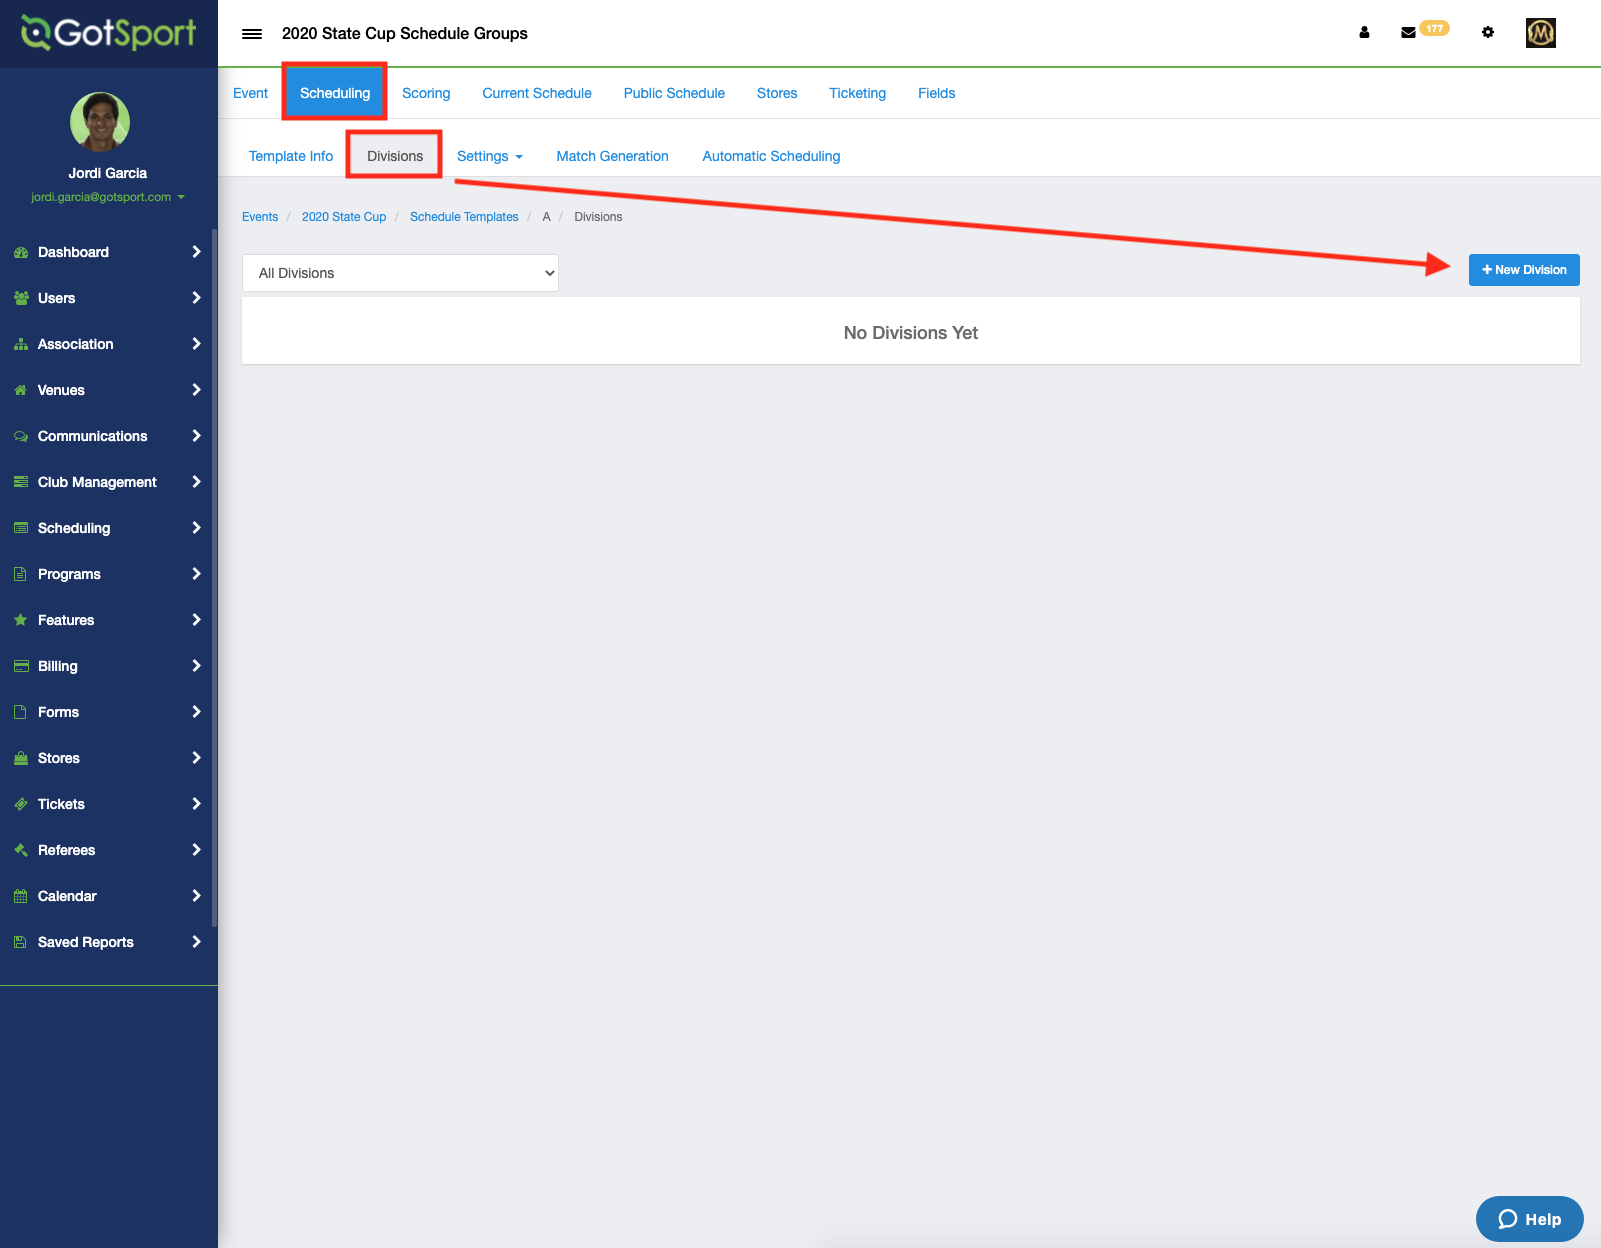
- Click on the event you want to set up and click on the “Scheduling” tab at the top of your page. This will prompt you to the “Divisions” tab. Click on the "+ New Division" button on the right:
Step 2:
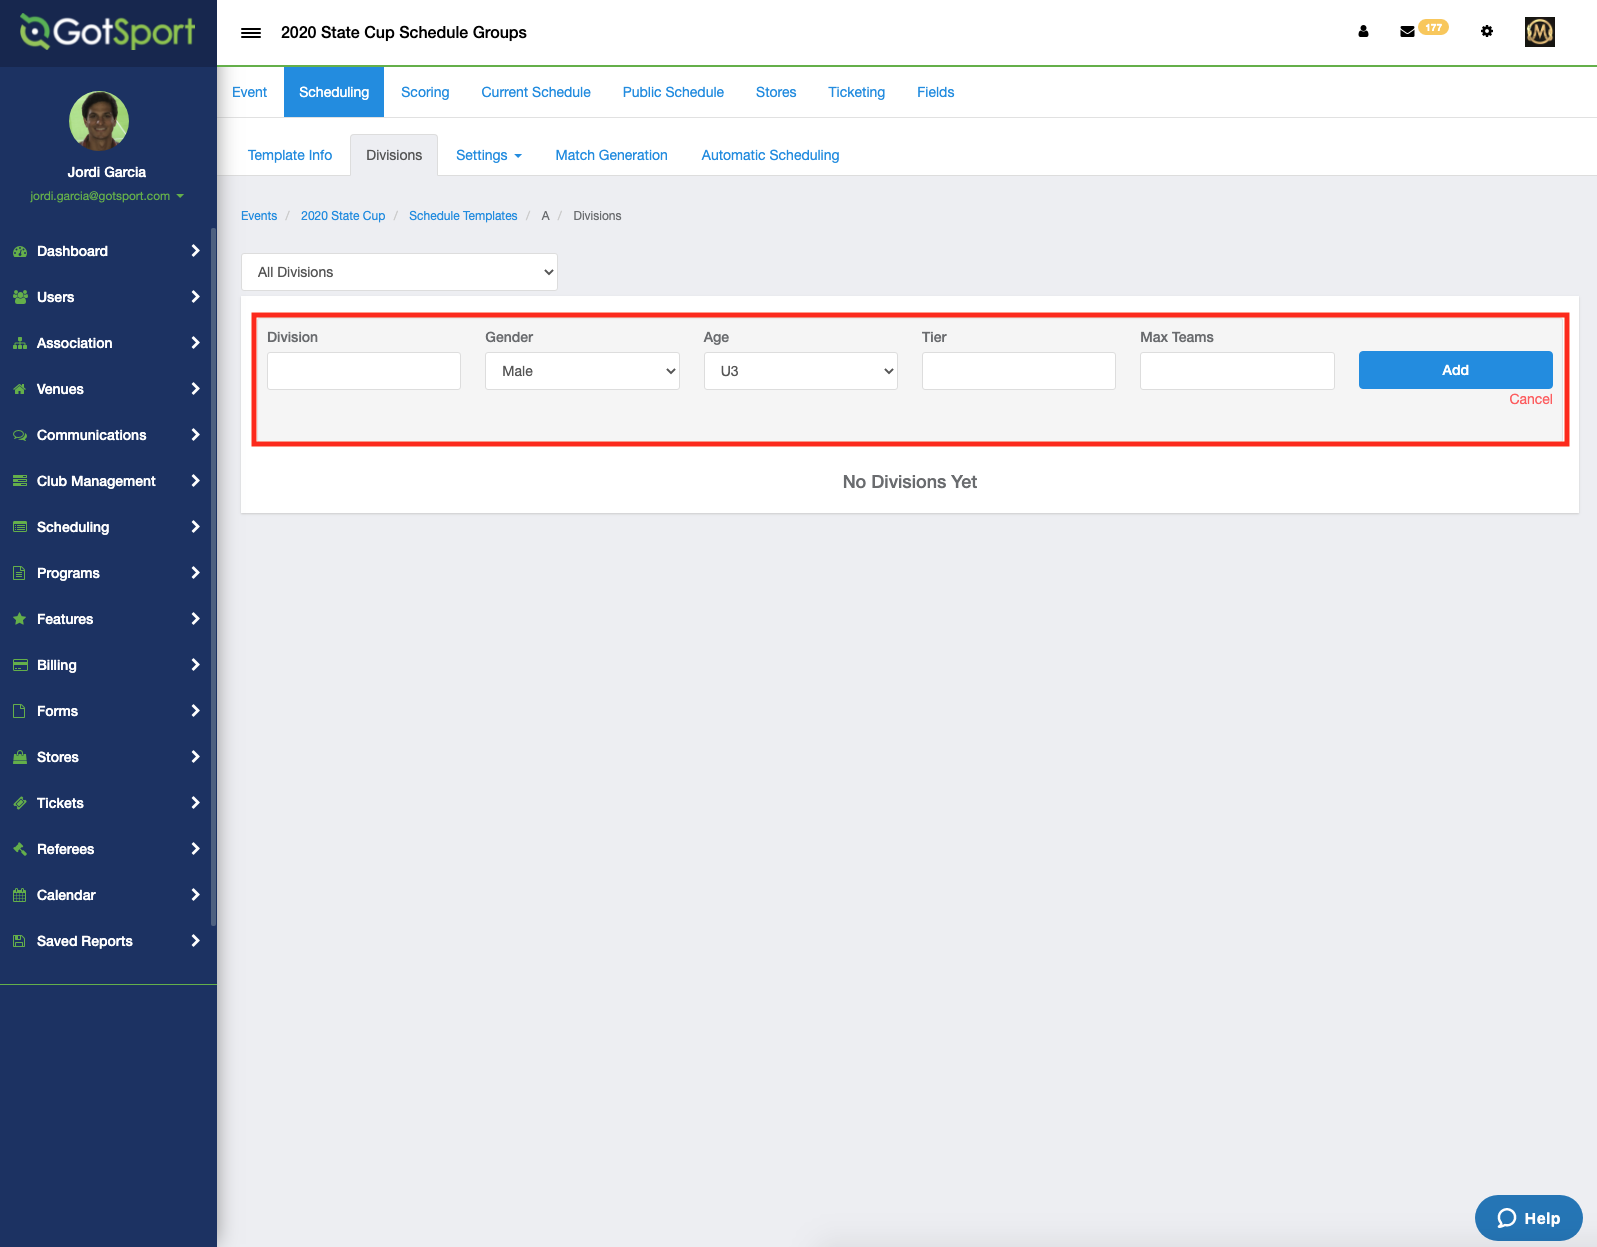
- A new box will appear to create your division.
- Enter the Division name, Gender, Age, Tier, and the number of teams in that Division. Once complete hit "Add".
- Now you will see your new division added underneath:

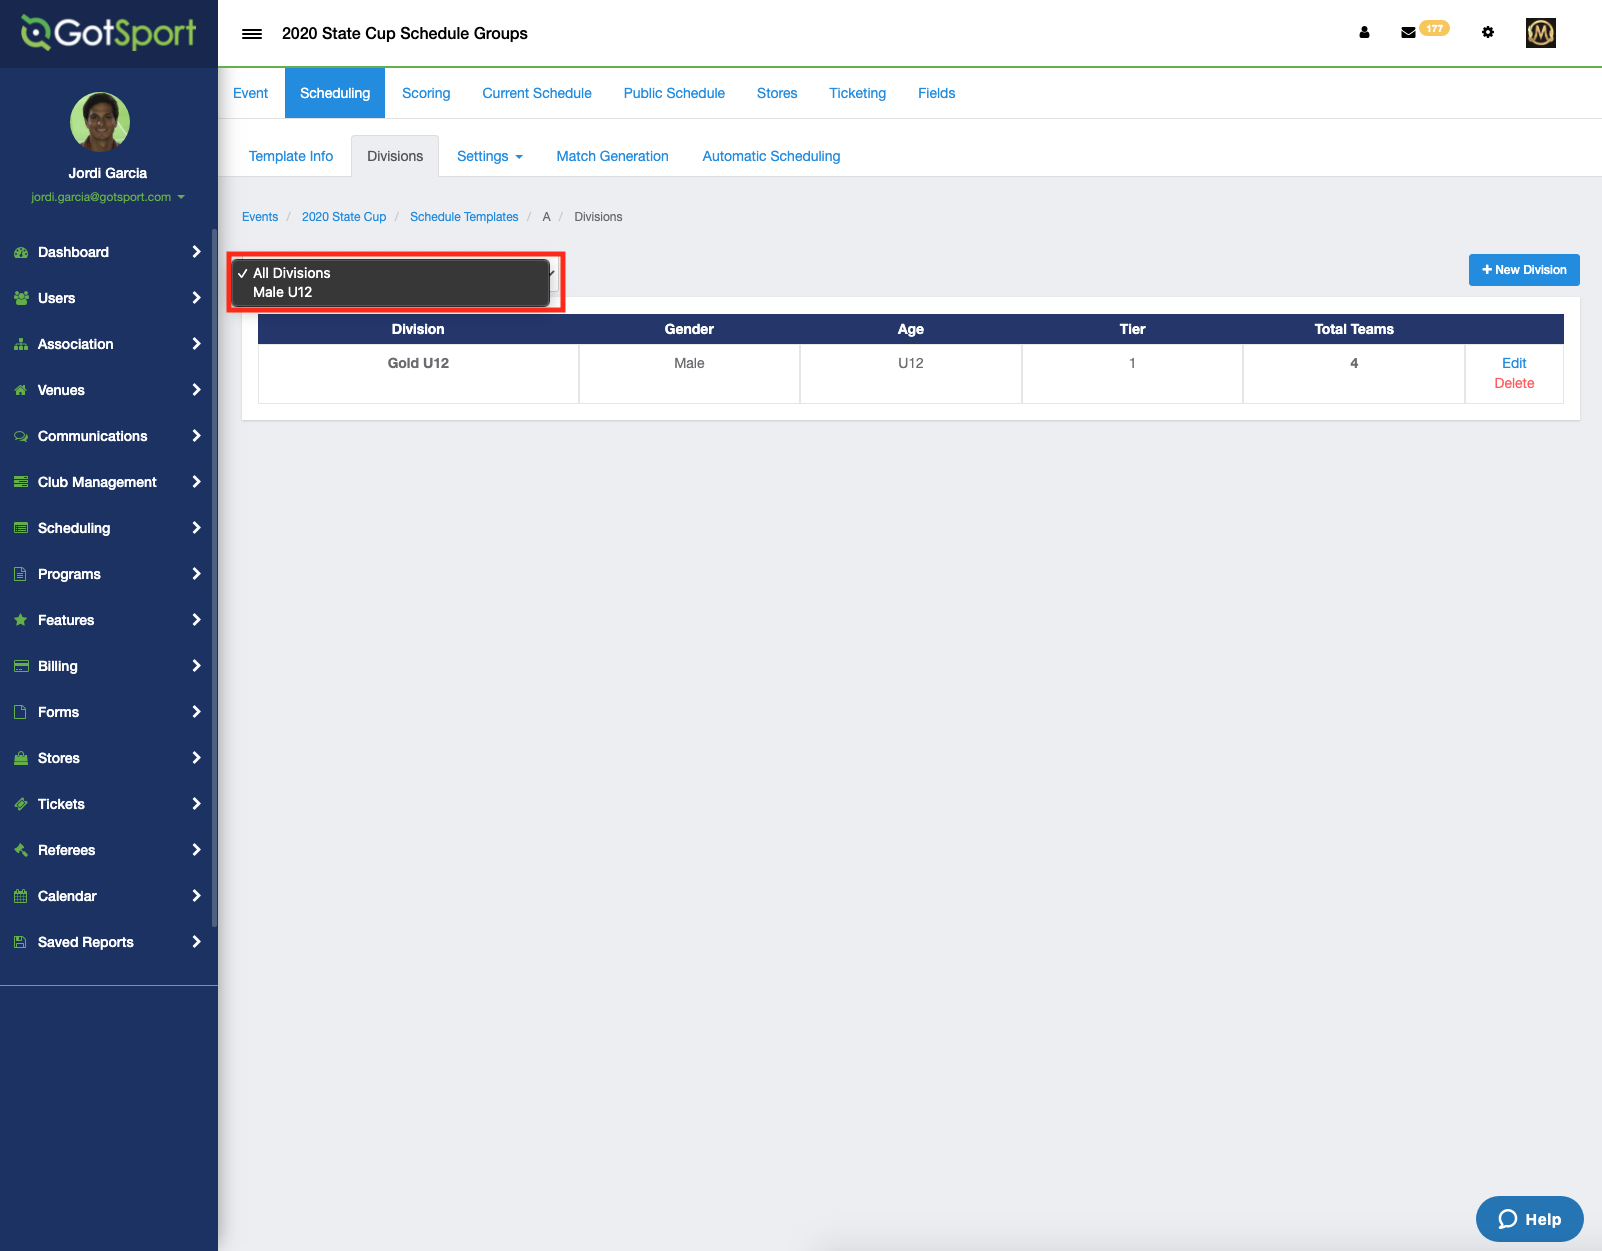
Step 3:
- Once the division is created, you can select any age group from the drop-down menu.
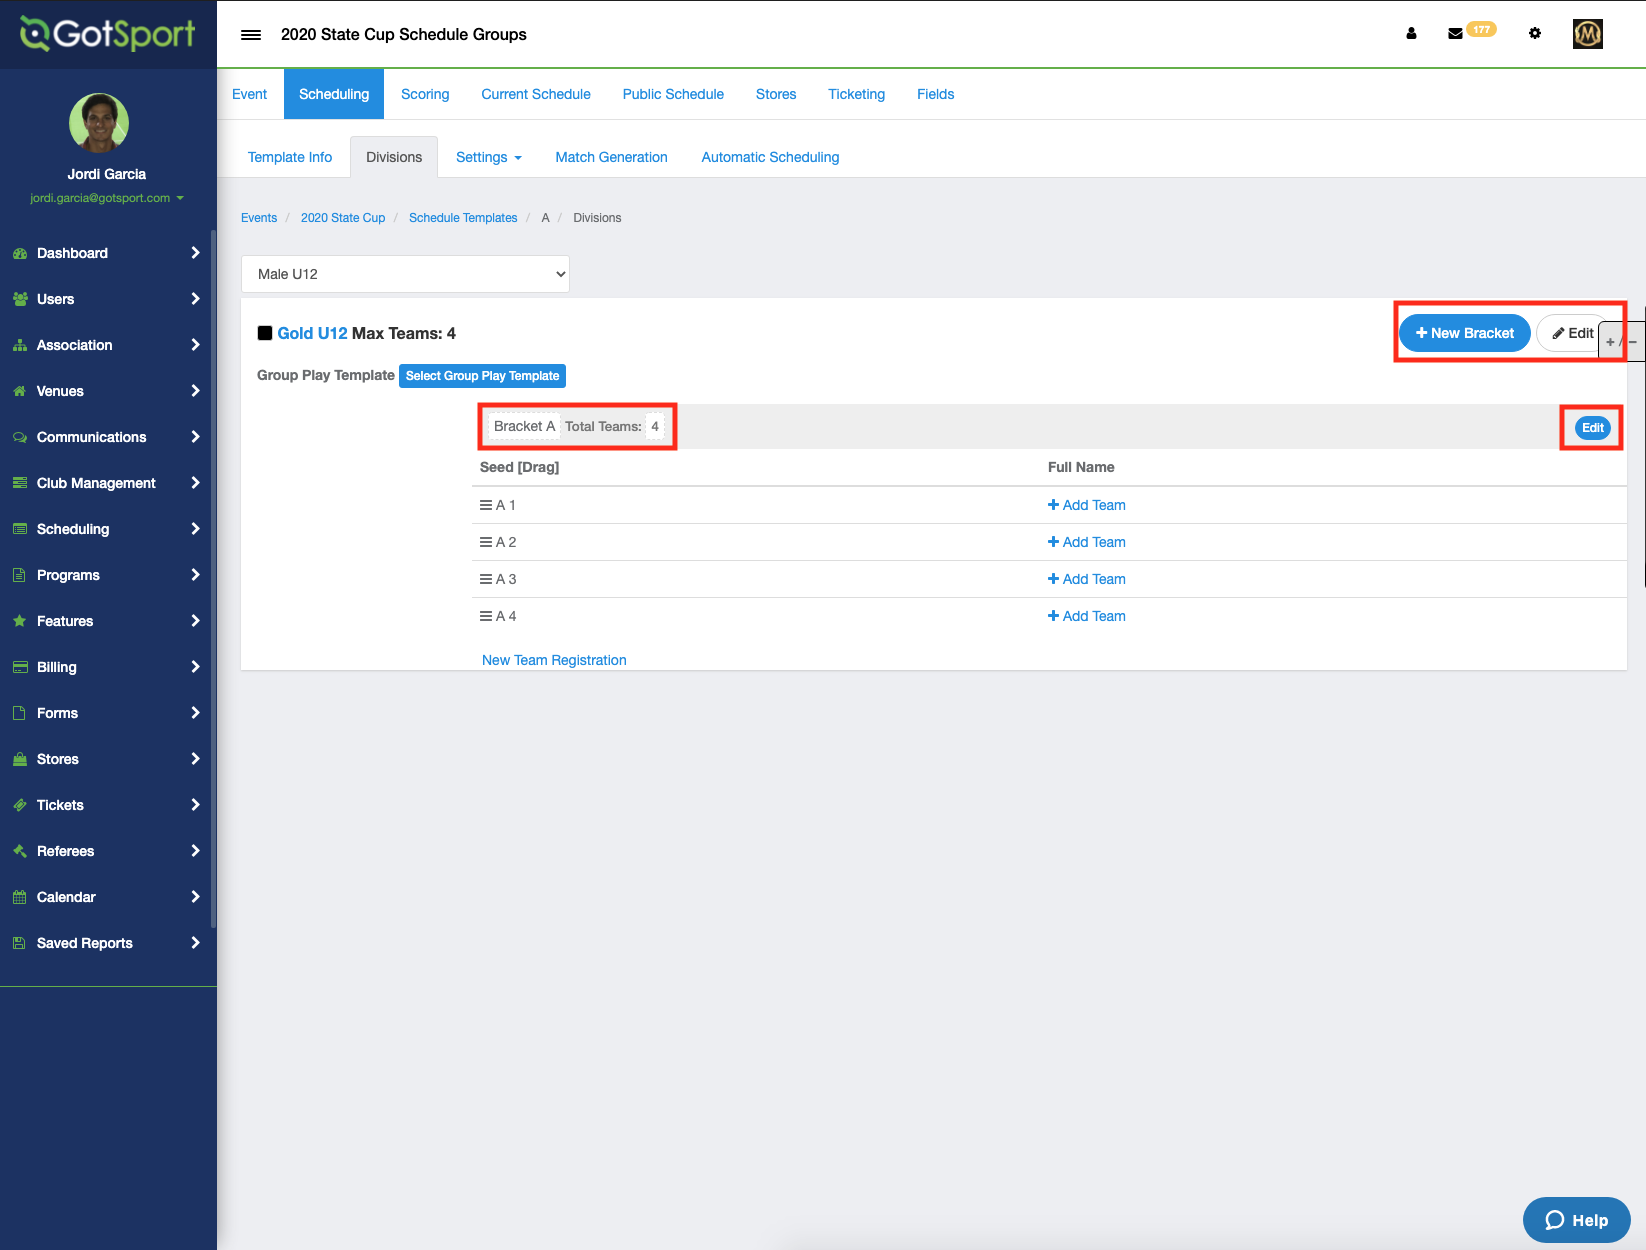
Step 4:
- Once you have selected a group, you can edit this Division, edit the initial bracket you created, or create another bracket within this Division.
- You can also click directly on the name or number of teams in the bracket to edit them.
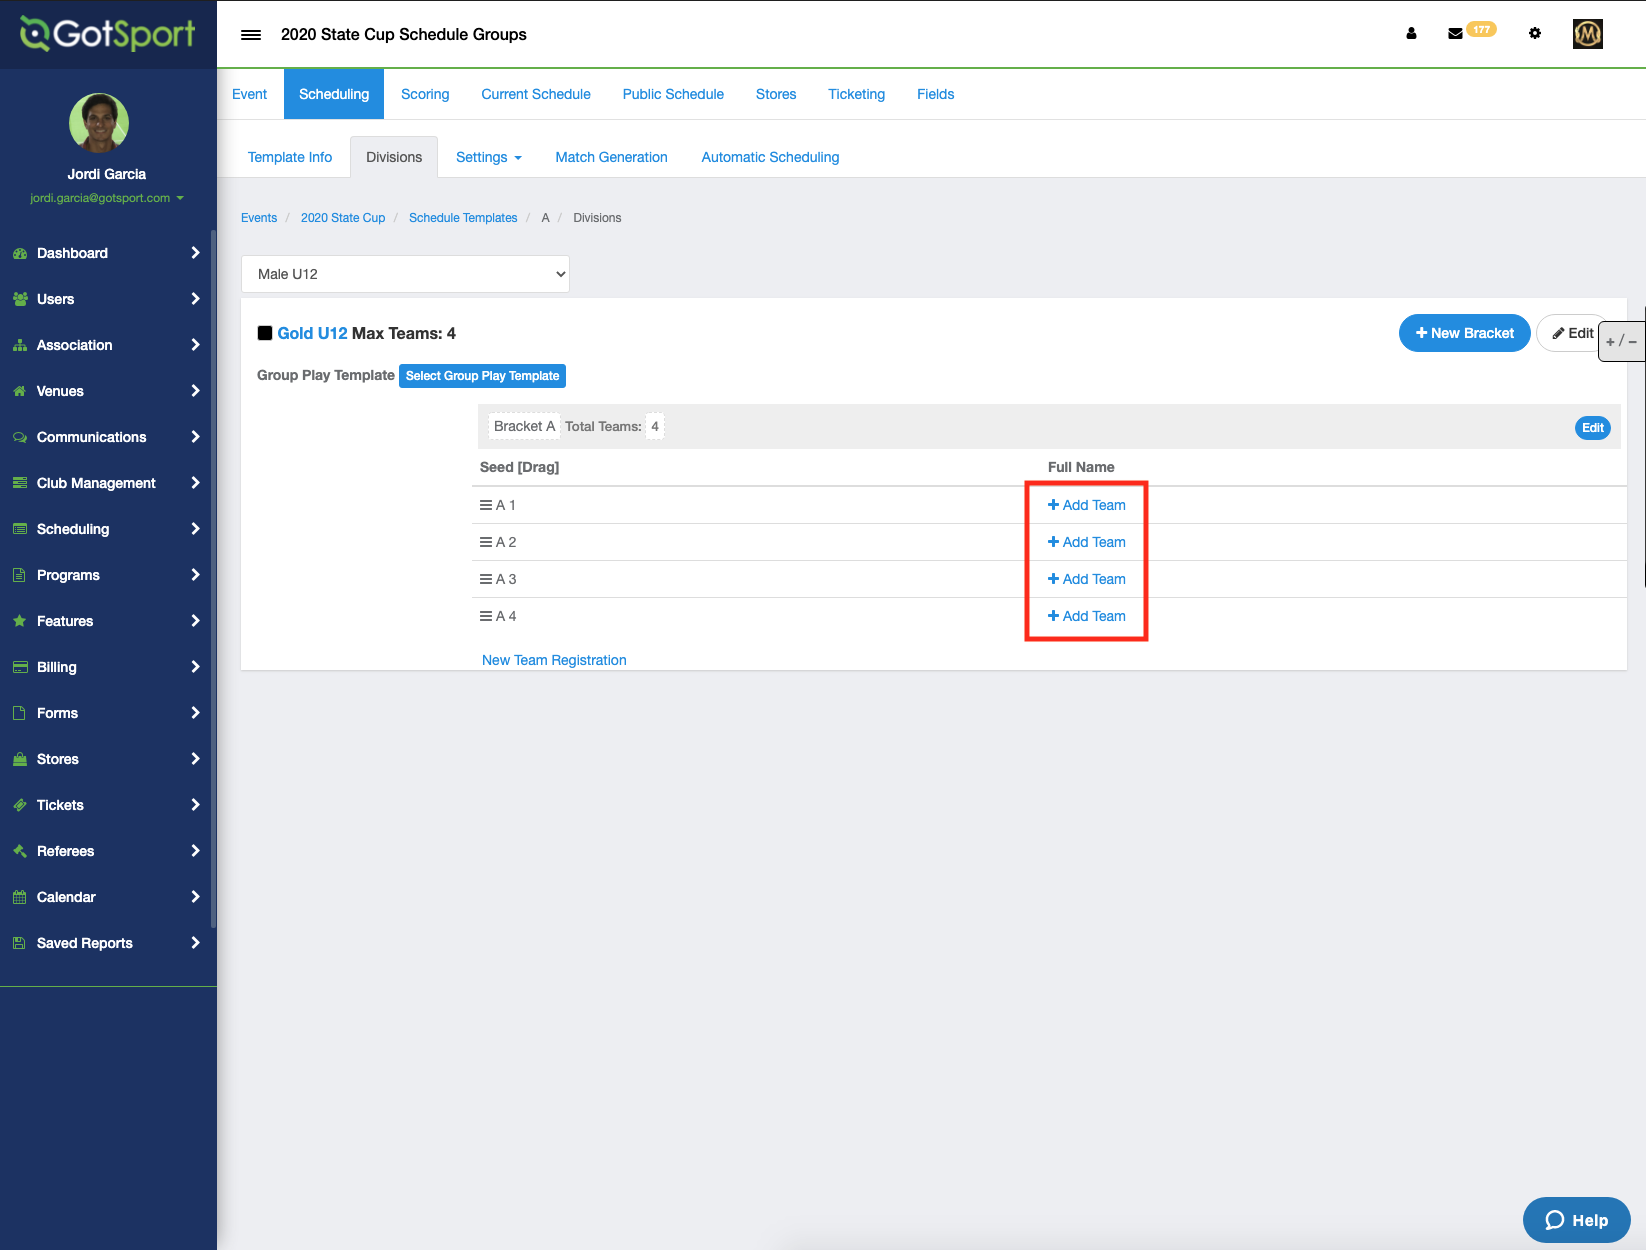
Step 5:
- To add a team registration, under the desired division and bracket, click "+ Add Team."
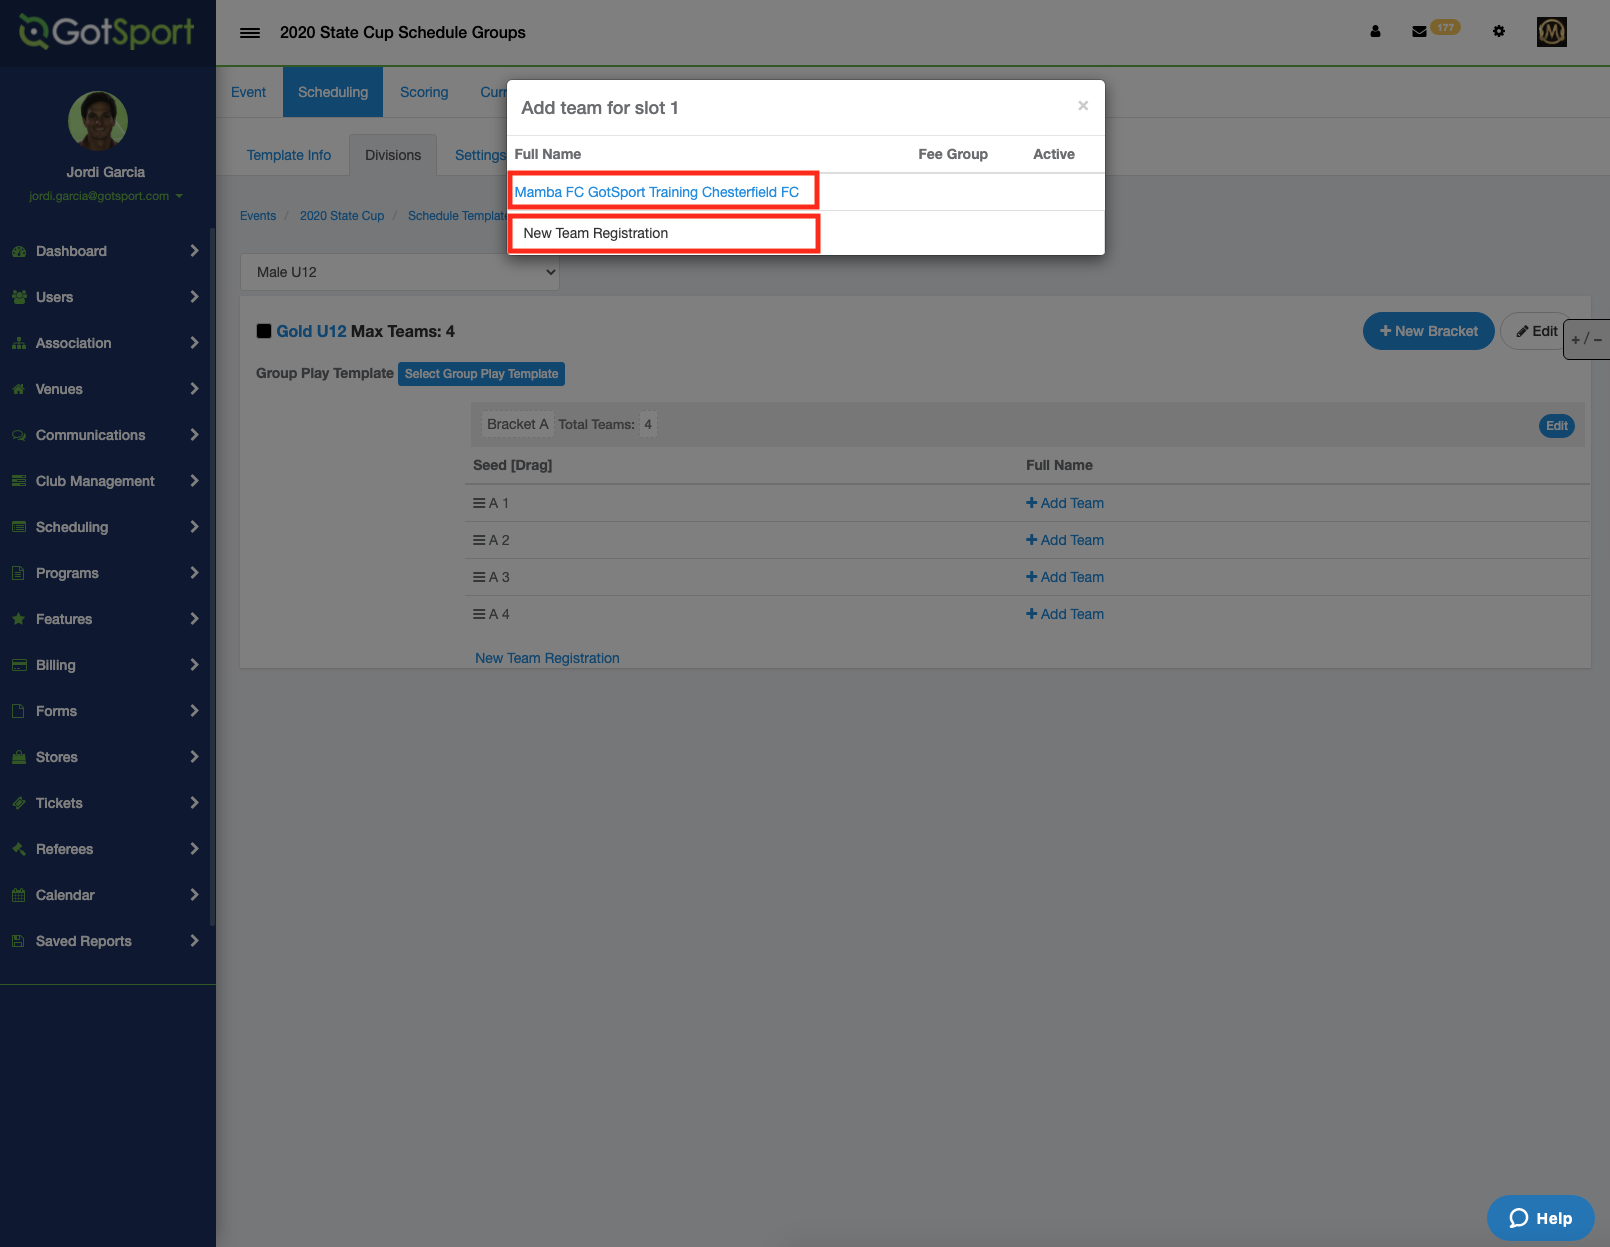
Step 6:
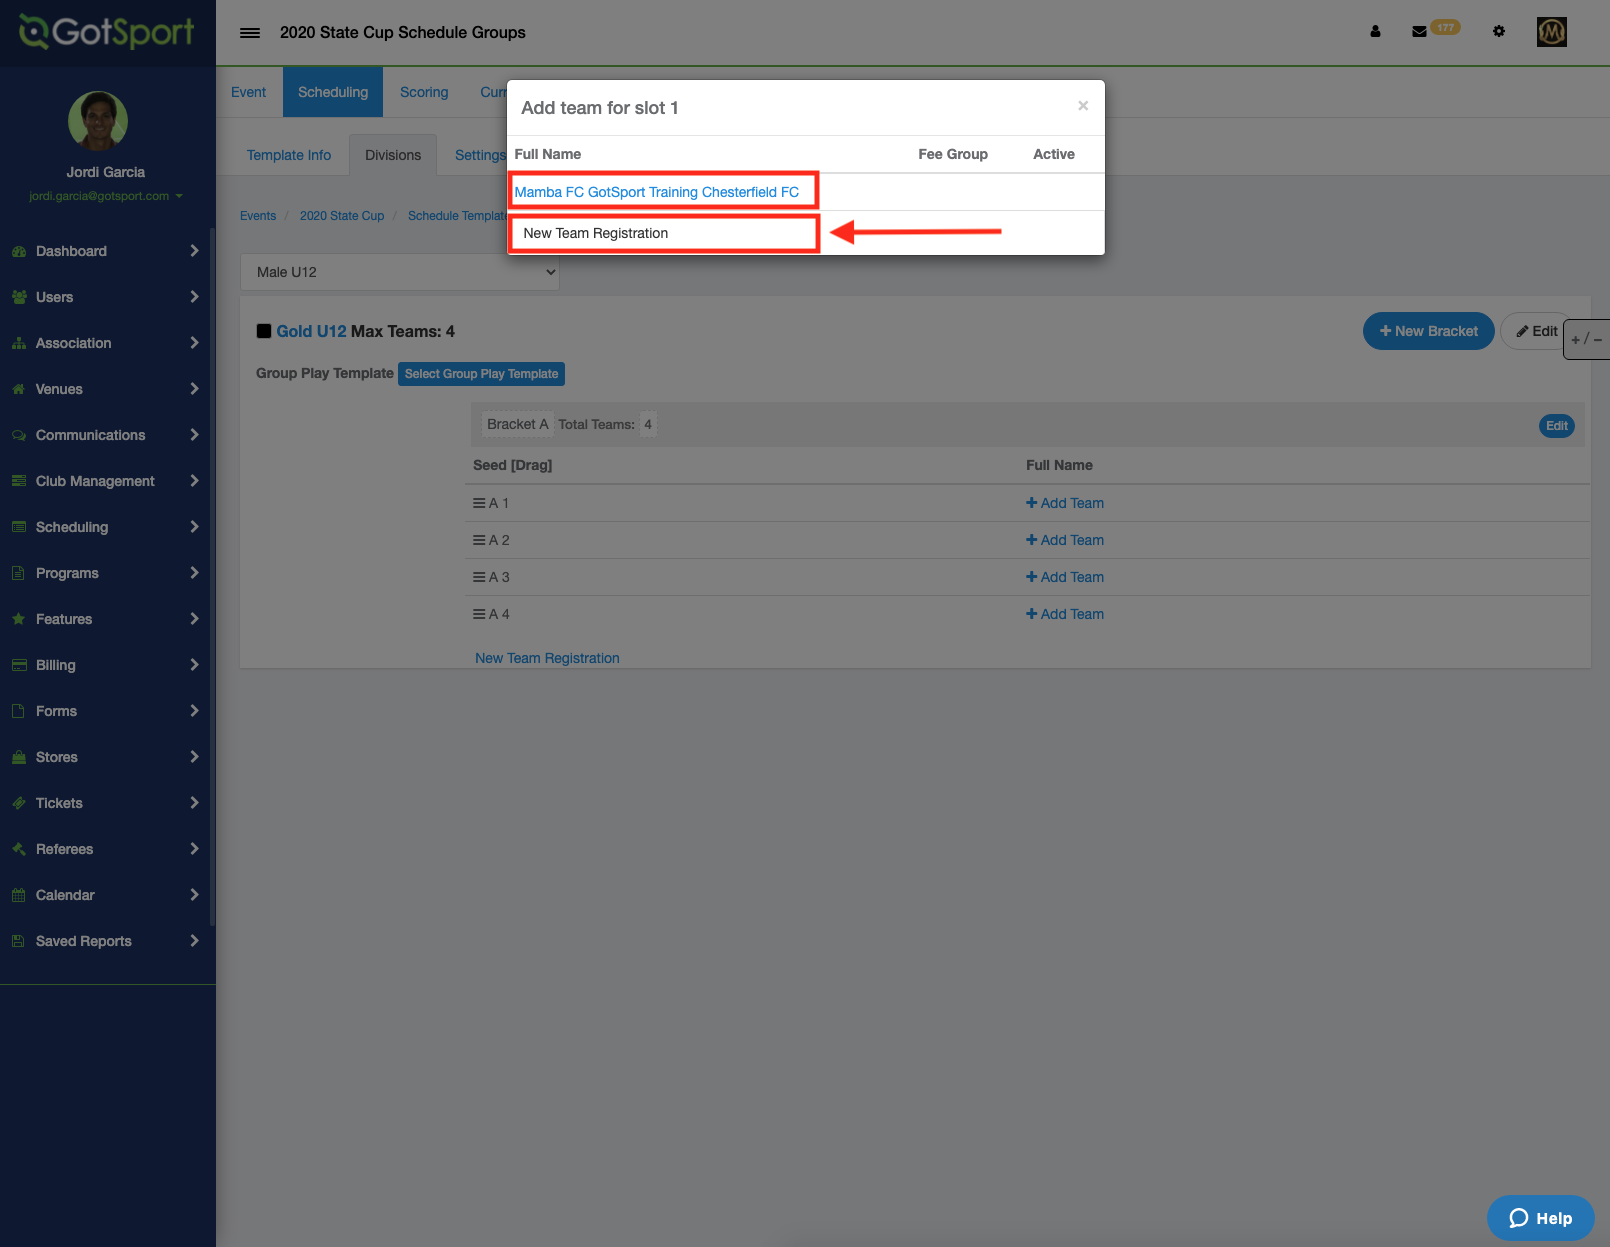
- From this page, you will be prompted to either select an existing registration or add a New Team Registration.
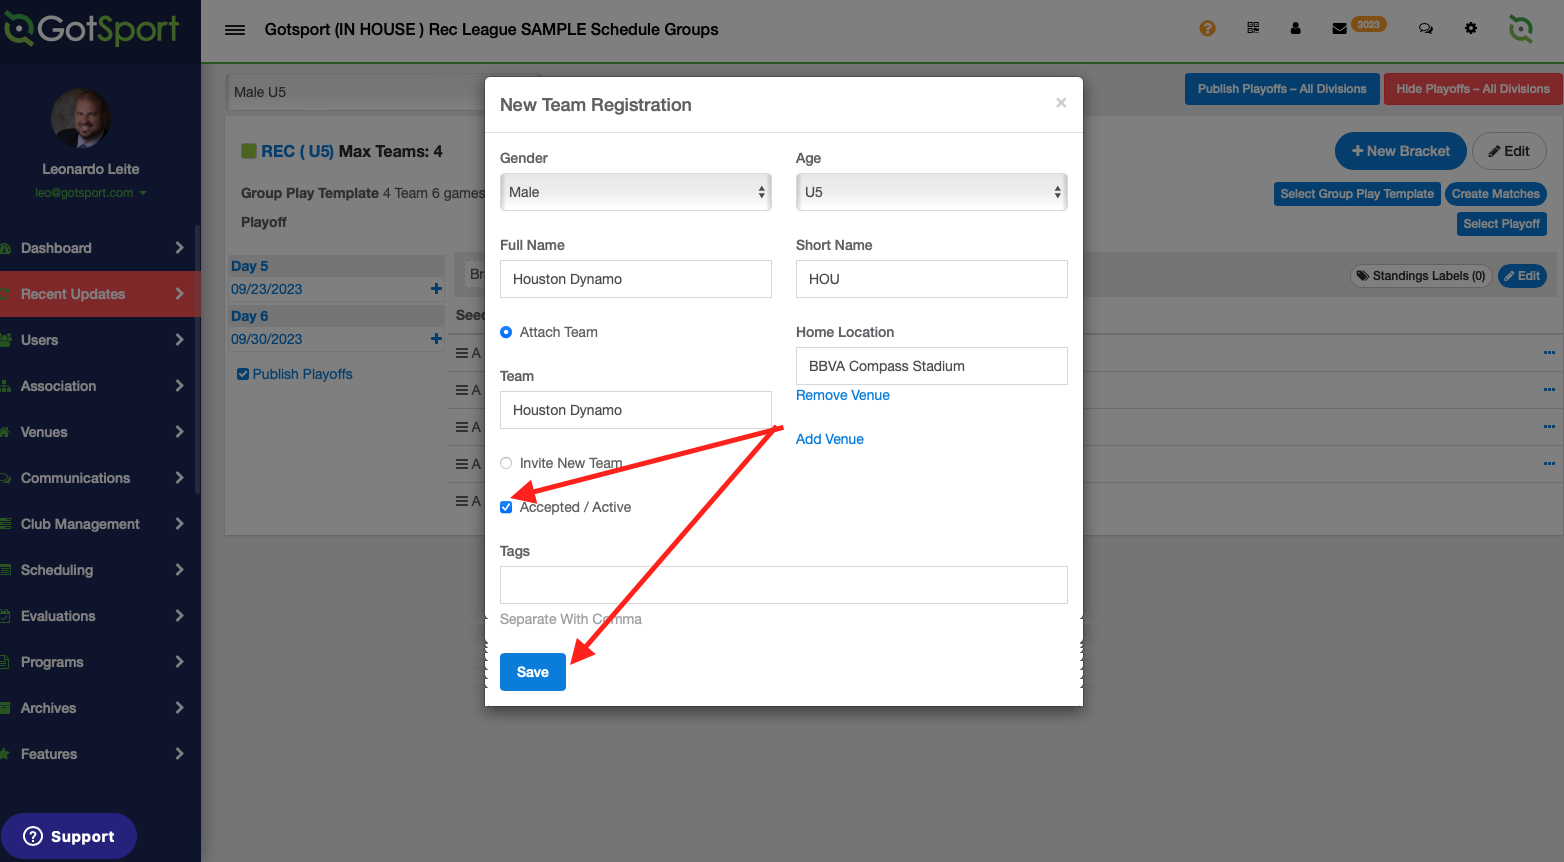
Step 7a:
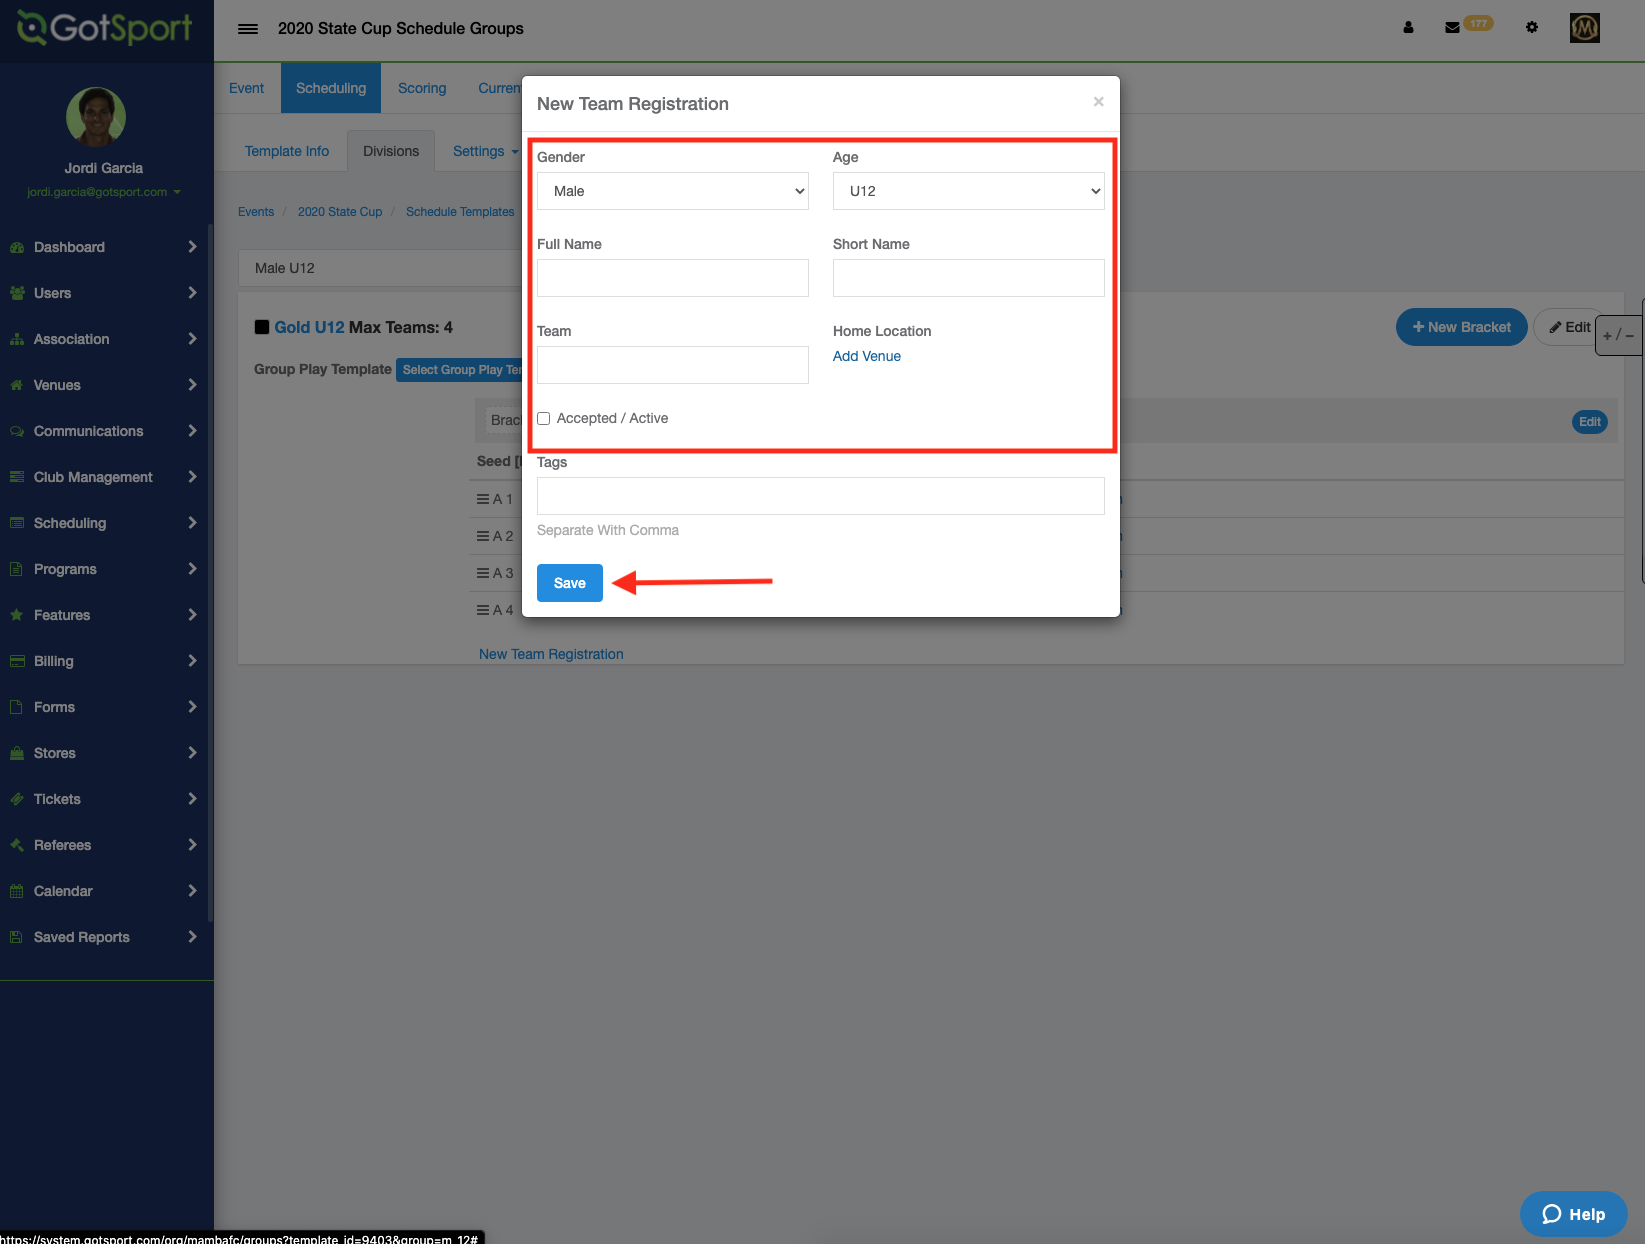
- When selecting a New Team Registration, you have two options.
- If you click in the "Team" box, you will be able to select from accepted applicants for your event. Selecting the team from the drop-down will automatically populate their information.
- Or you can manually enter a team and fill out all the fields. Upon adding a registration, either way, you can Accept/Activate the team by checking off the checkbox.
Step 7b:
- Select "Attach Team"
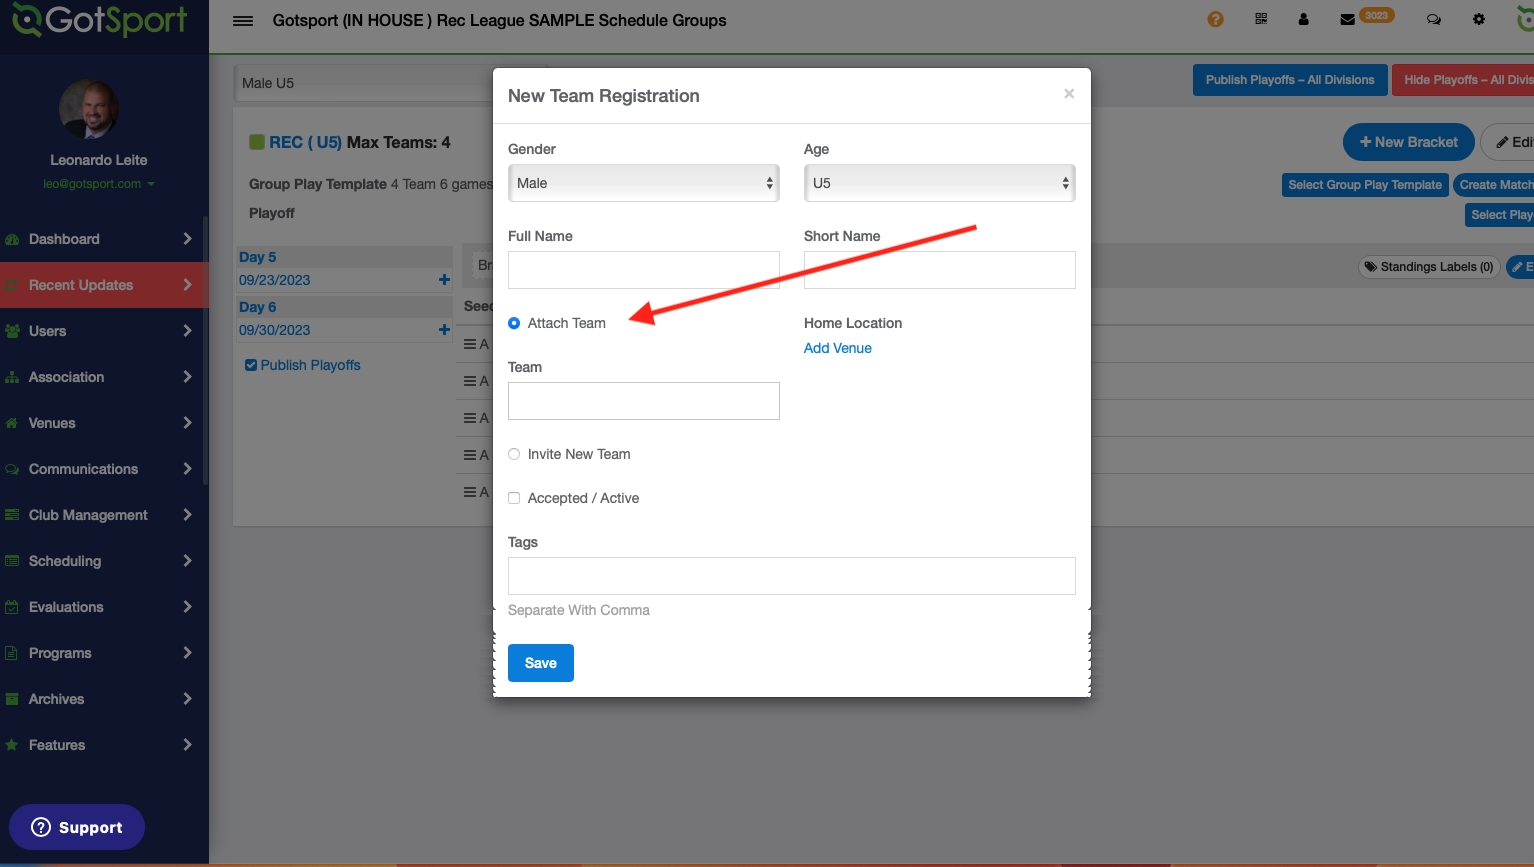
- As you begin typing the team name, you'll notice a dropdown menu displaying a list of available team options.
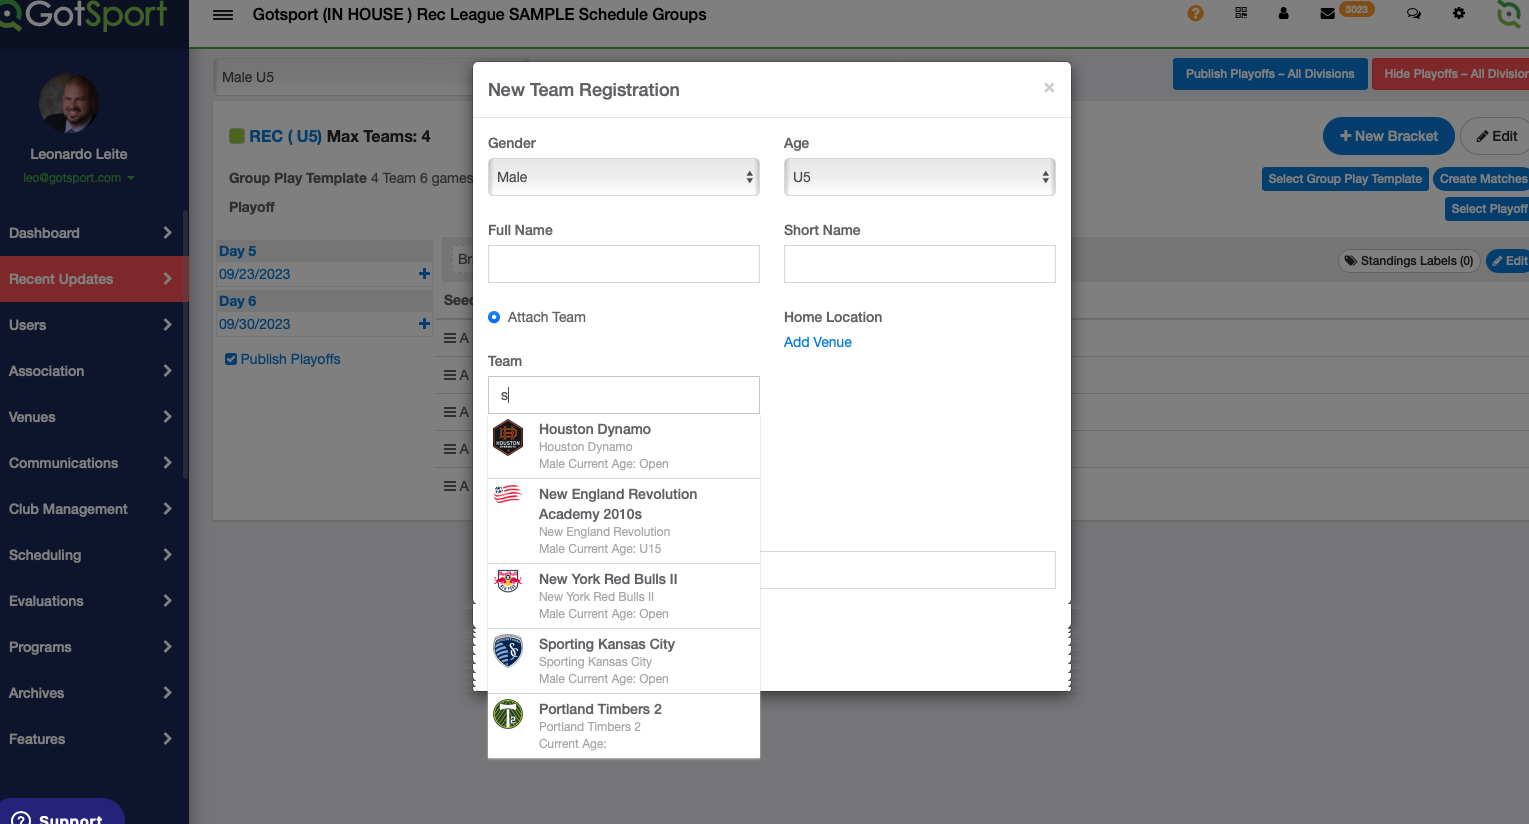
- Verify if the team has the correct home location and short name then select accepted/active and click on save.
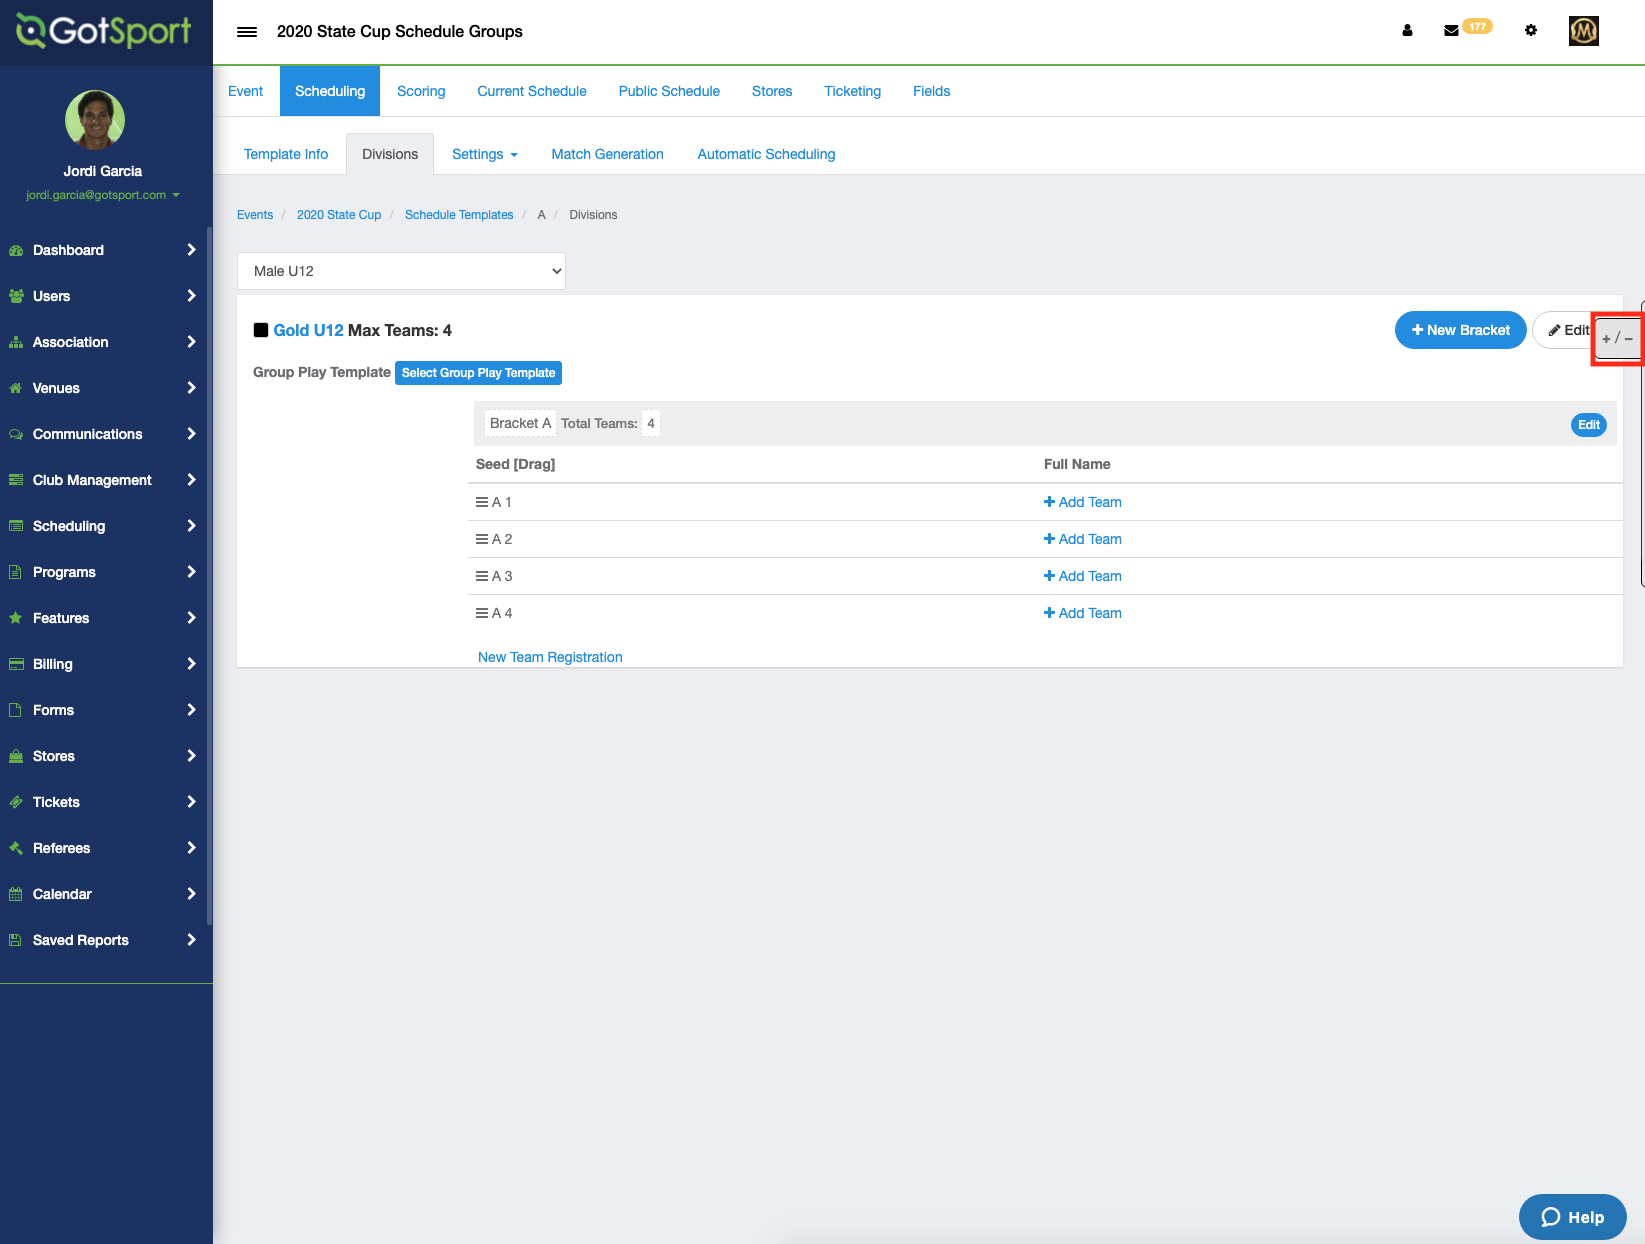
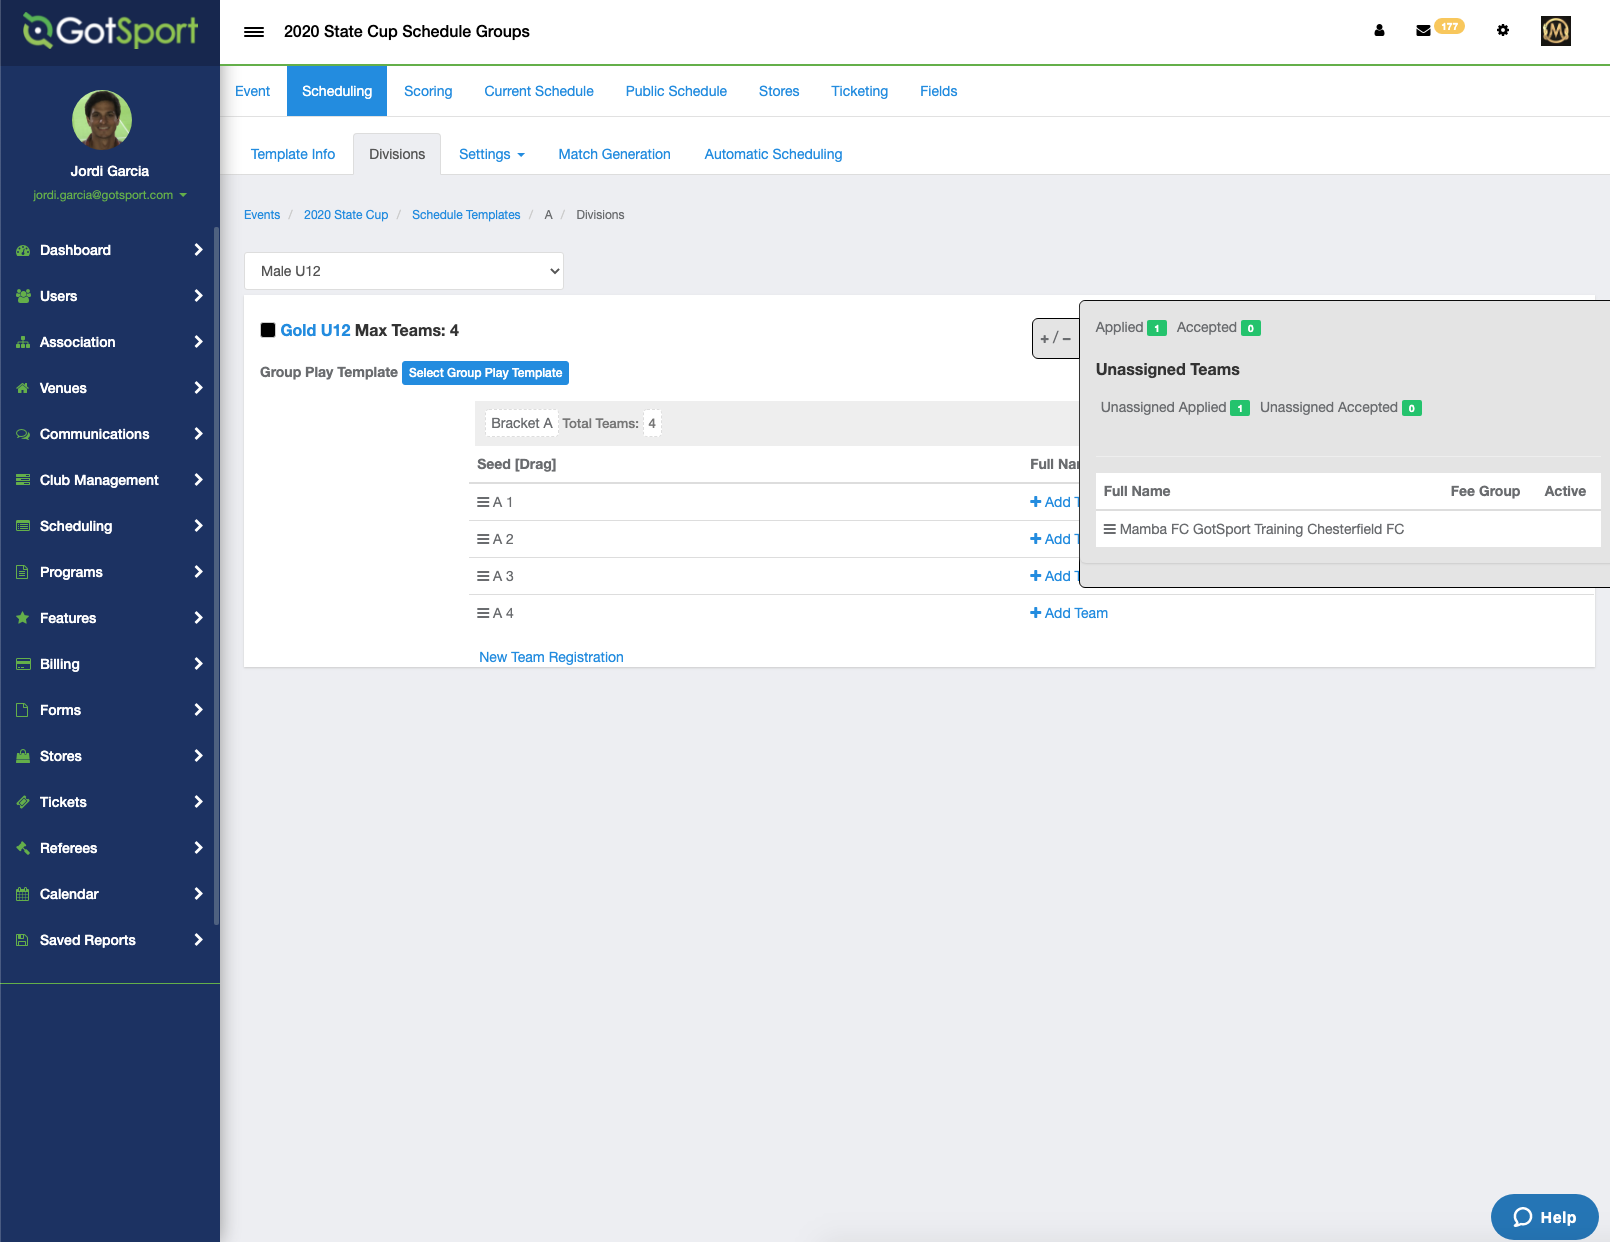
Step 8:
- A 2nd way to add a team is to click the +/- button on the far right-hand side to expand a list of teams.
- You can then "drag and drop" them into the open spots in the bracket.
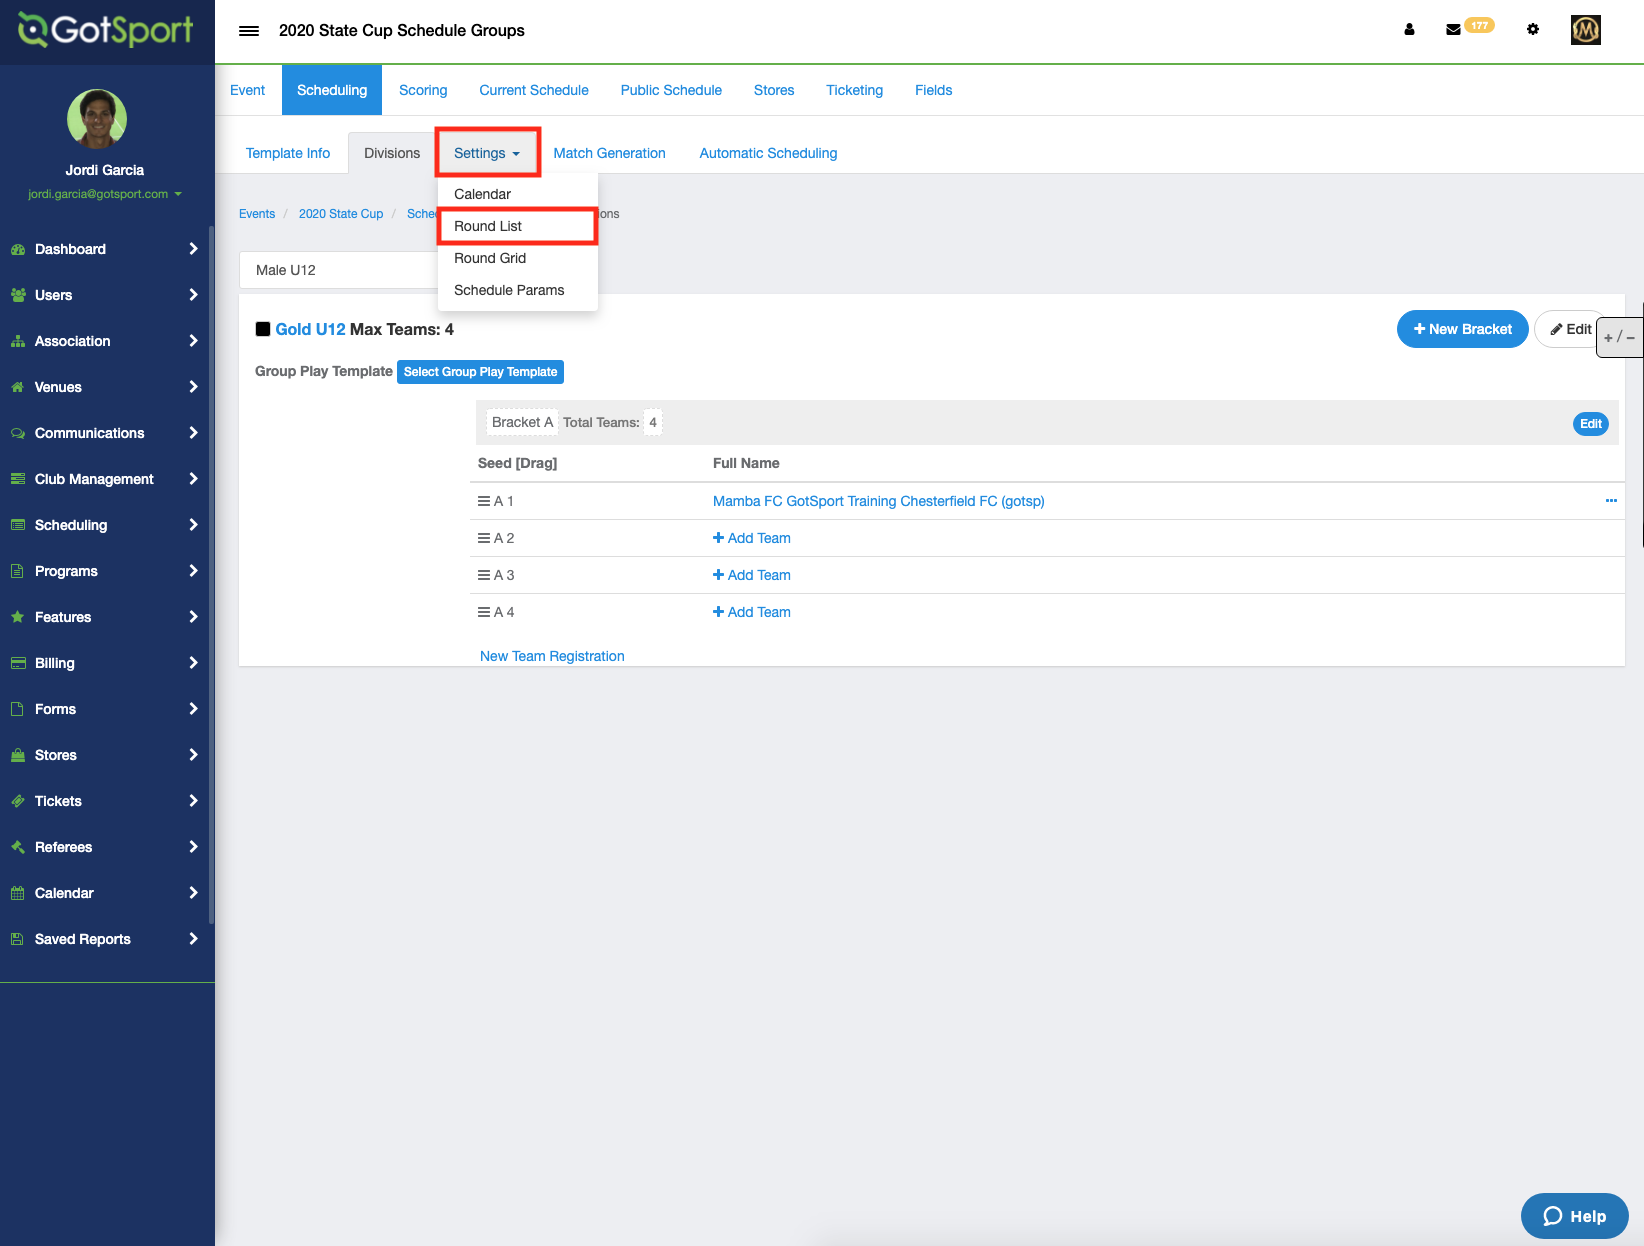
Step 9:
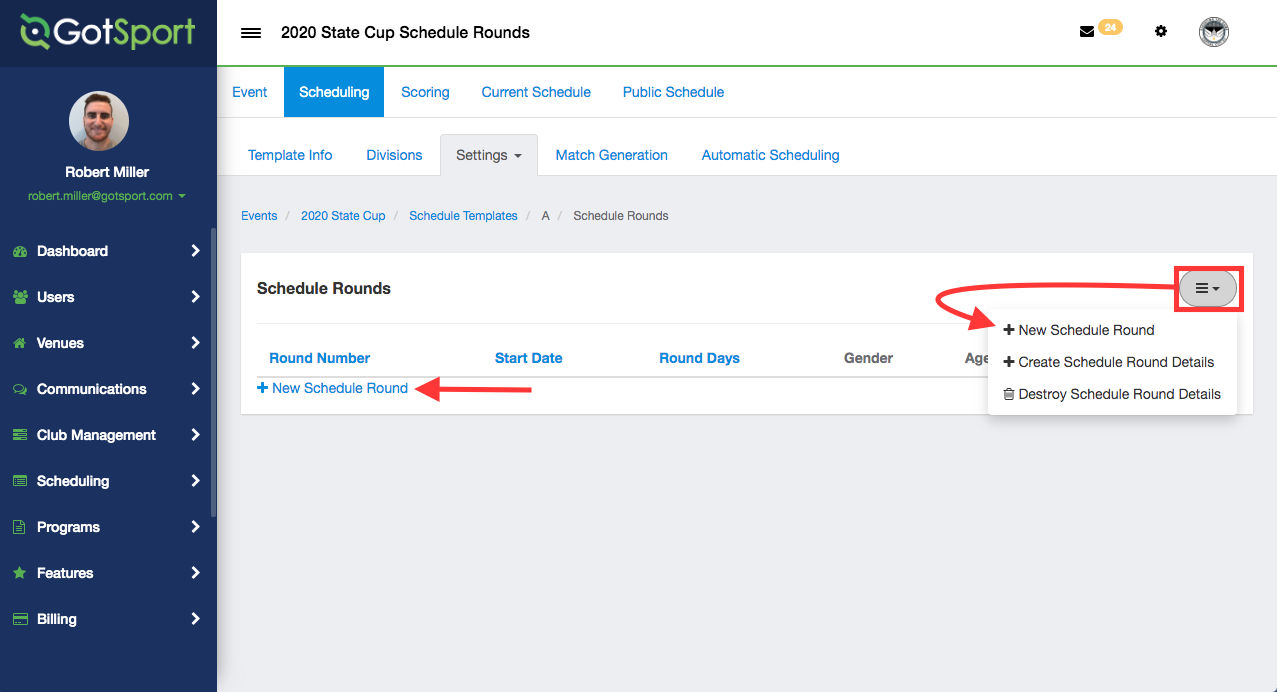
- To add your playing rounds/weeks, click the "Settings" drop-down button then select "Round List."
Step 10:
- Either click "+ New Schedule Round" on the left-hand side or click the hamburger button dropdown on the right-hand side then select "+ New Schedule Round."
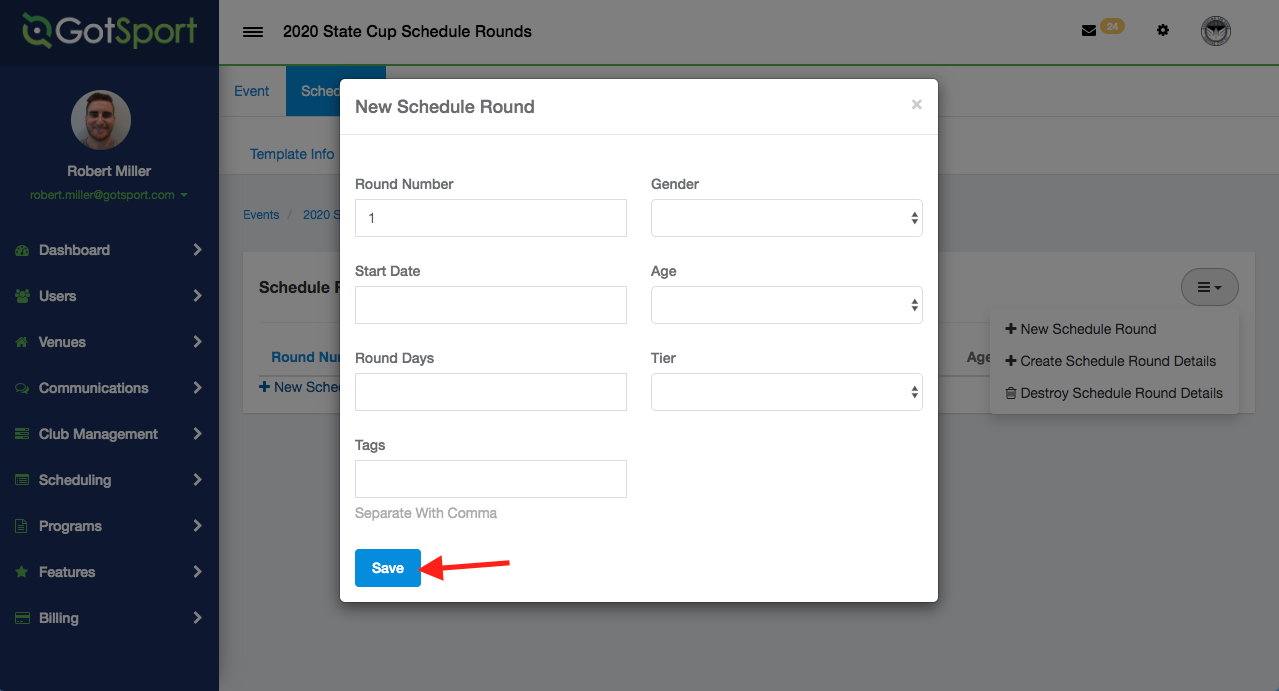
Step 11:
This will prompt you to enter some basic information for this round:
- Round Number: What number this round is chronologically in all of your rounds. Note: As you keep clicking "+ New Schedule Round," the round number will go up by 1 automatically for you.
- Start Date: When this specific round will start.
- Round Days: How many days this round will last.
- Click "Save" when you are done.
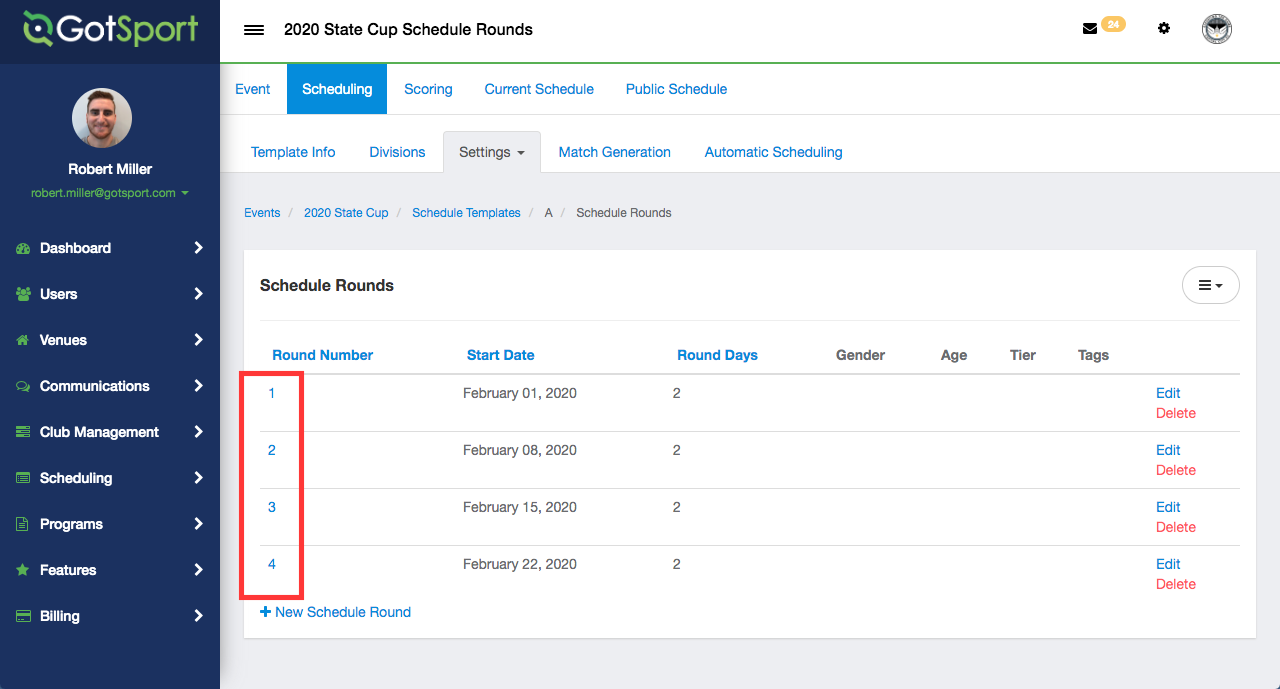
Step 12:
- Once you have created your rounds, you will set your game per-day limits. To do so, first, click on the round number you are adding limits for.
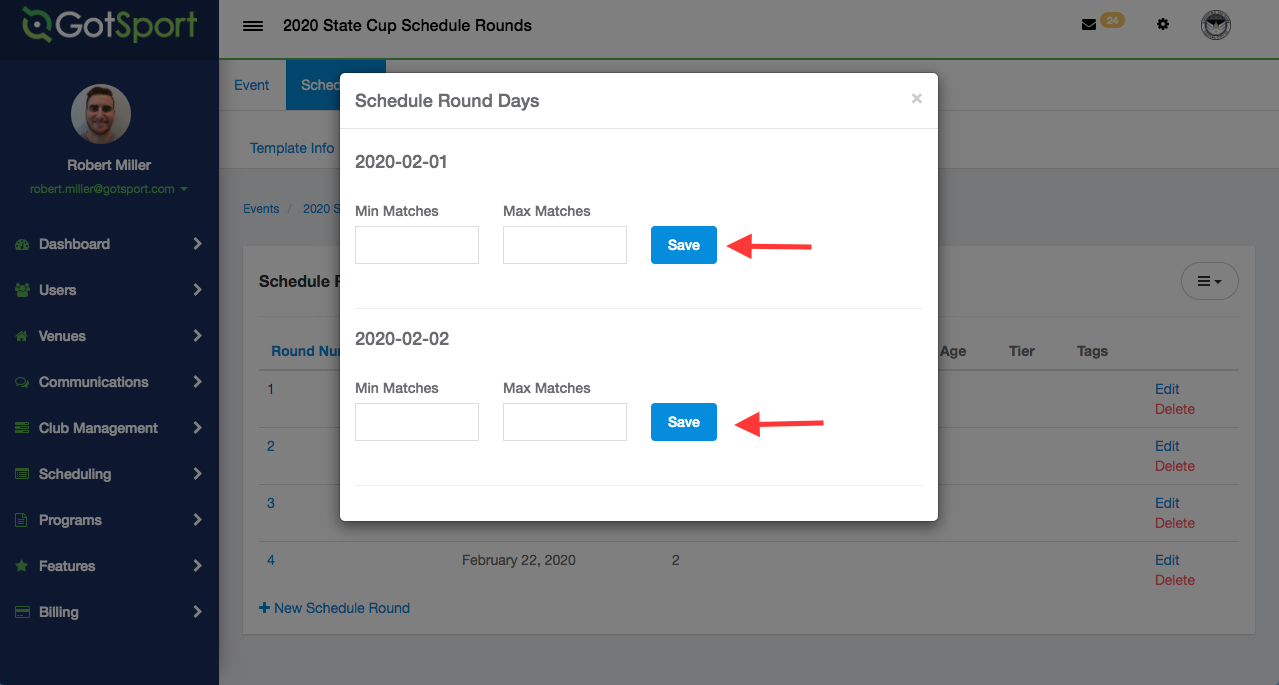
Step 13:
- This page will prompt you to enter the Minimum and Maximum amount of games that are allowed on each day. When done, click "Save" for BOTH days you have entered data for.
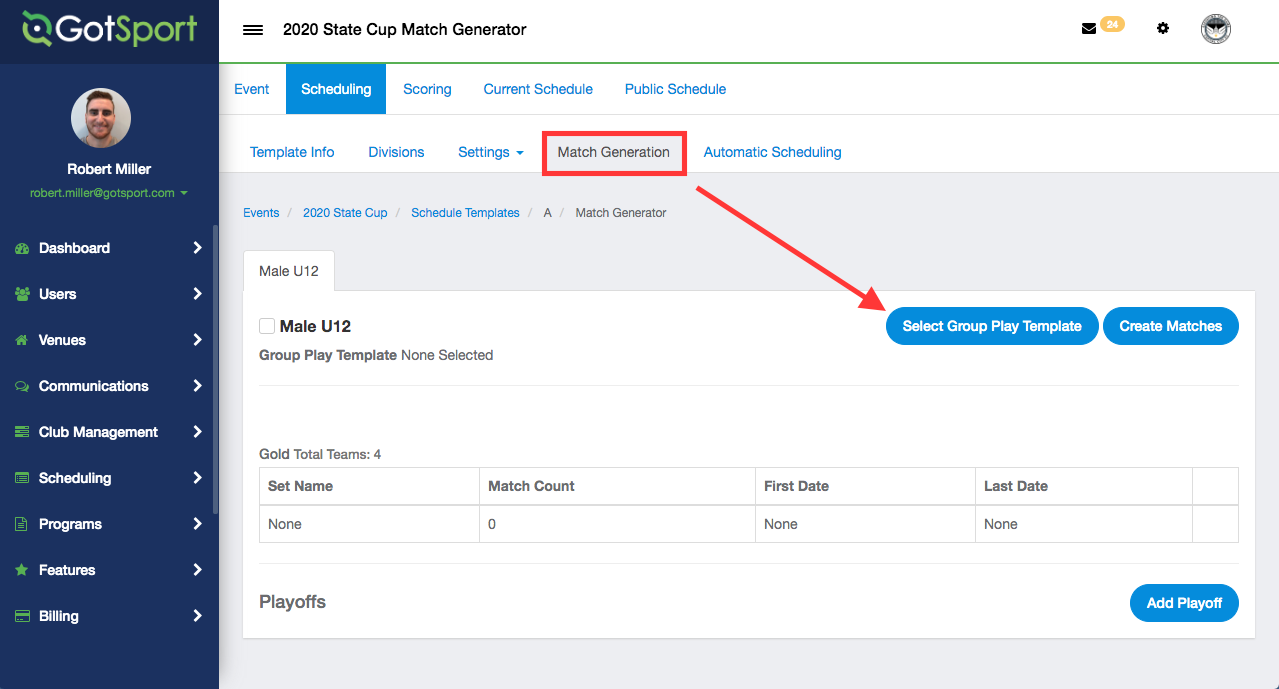
- Next, click the “Match Generation” tab at the top of your screen and select the flight.
- You will then click the “Select Group Play Template” button.
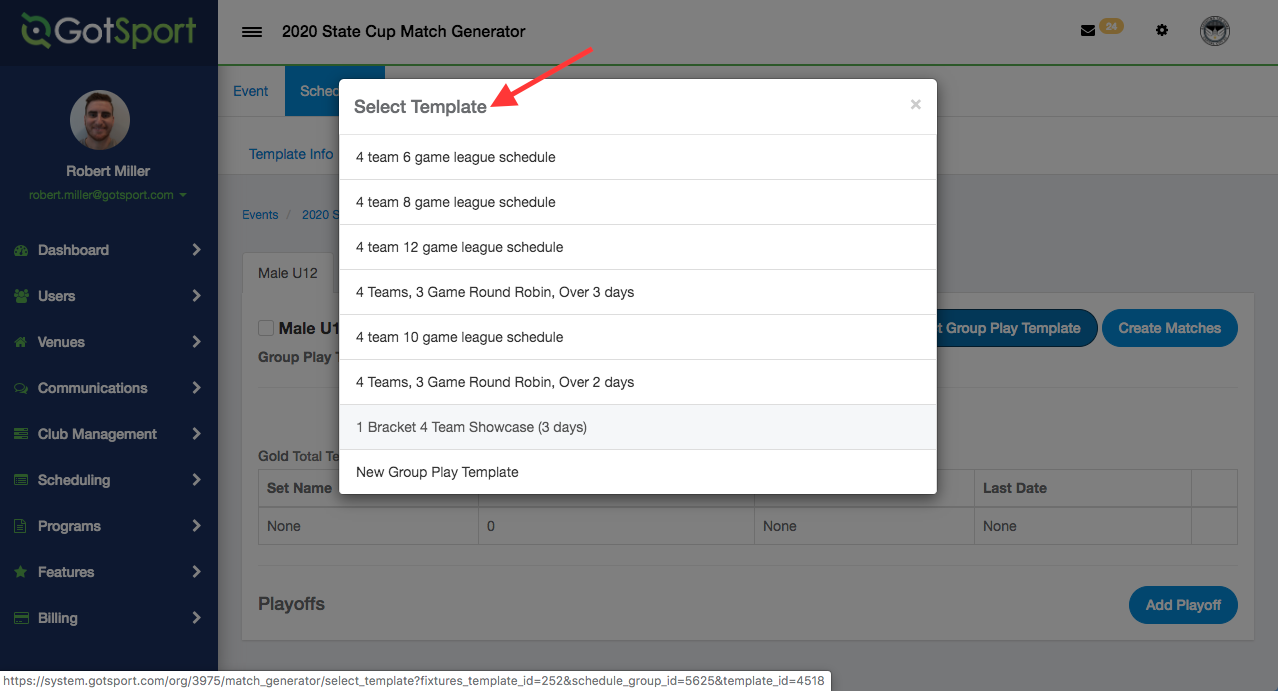
Step 14:
- Only the number of teams in that flight option will appear. You will then want to select the template that best fits your tournament format.
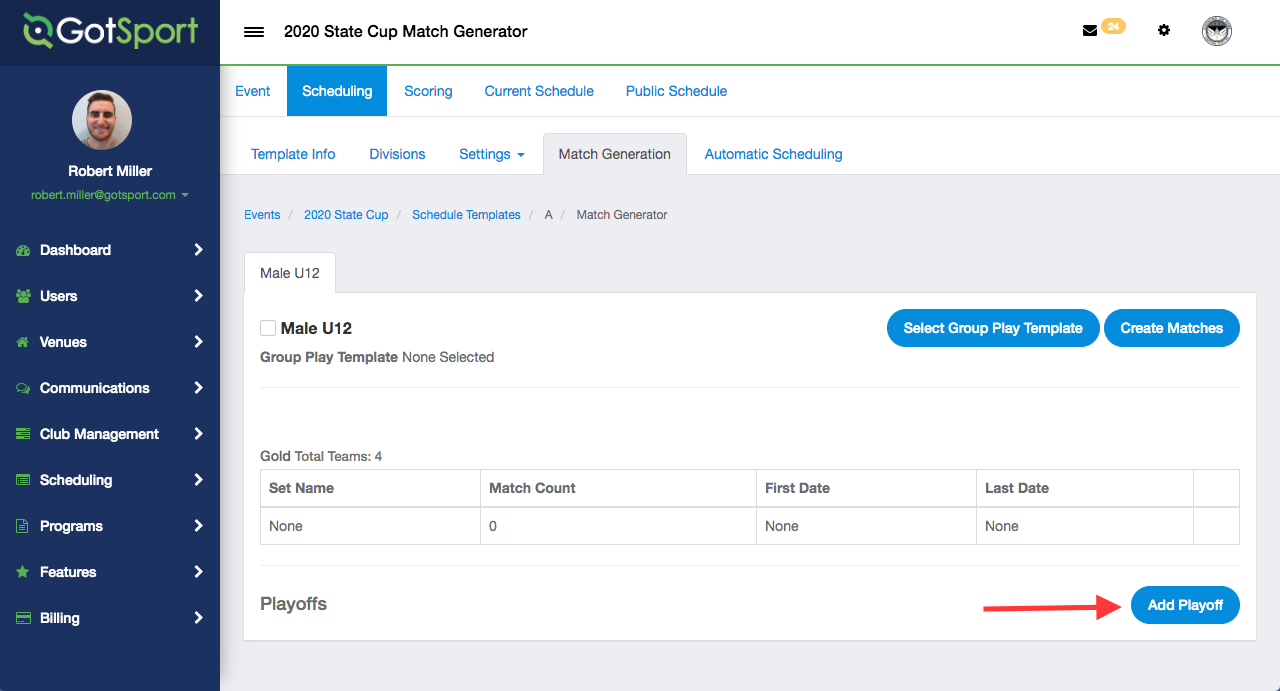
Step 15:
- Once you have selected your group play template, you will then add a playoff template (if applicable to your event).
- Under the same "Match Generation" tab and the selected age group, you will see an "Add Playoff" button on the bottom right of the flight.
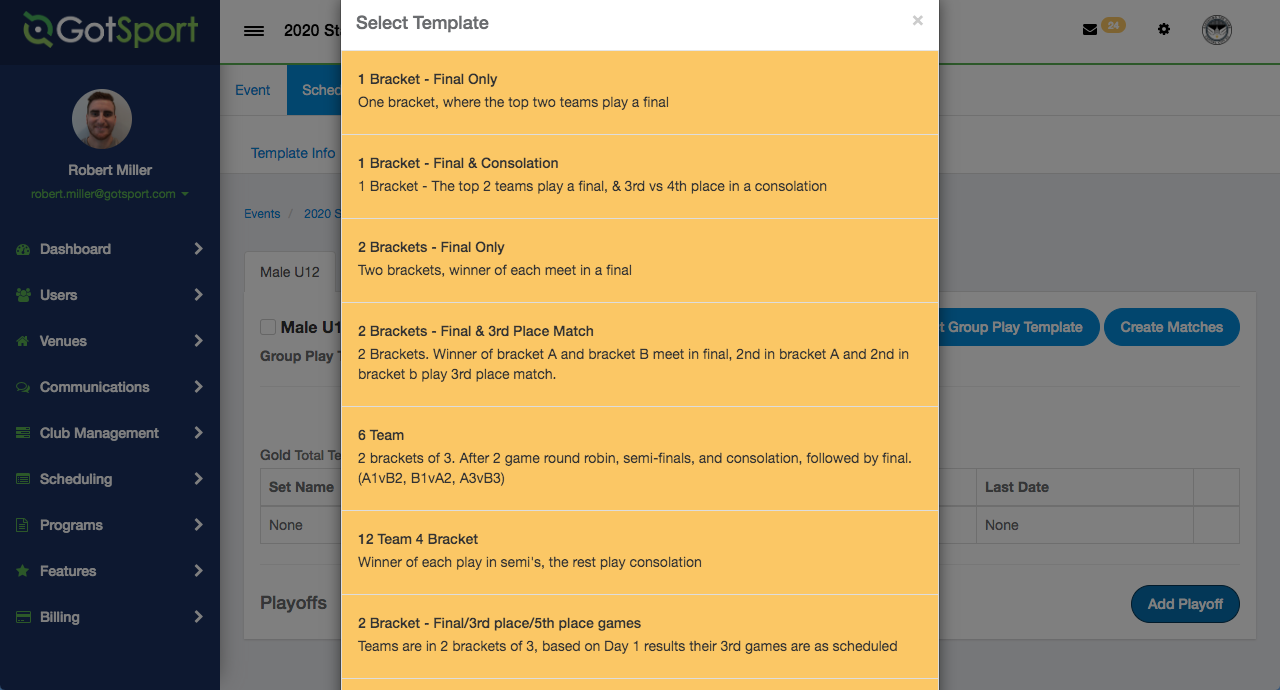
- Click it and add the playoff template.
Step 16:
- After each template is selected, you will then create your matches. To do so, you will click the "Create Matches" button.
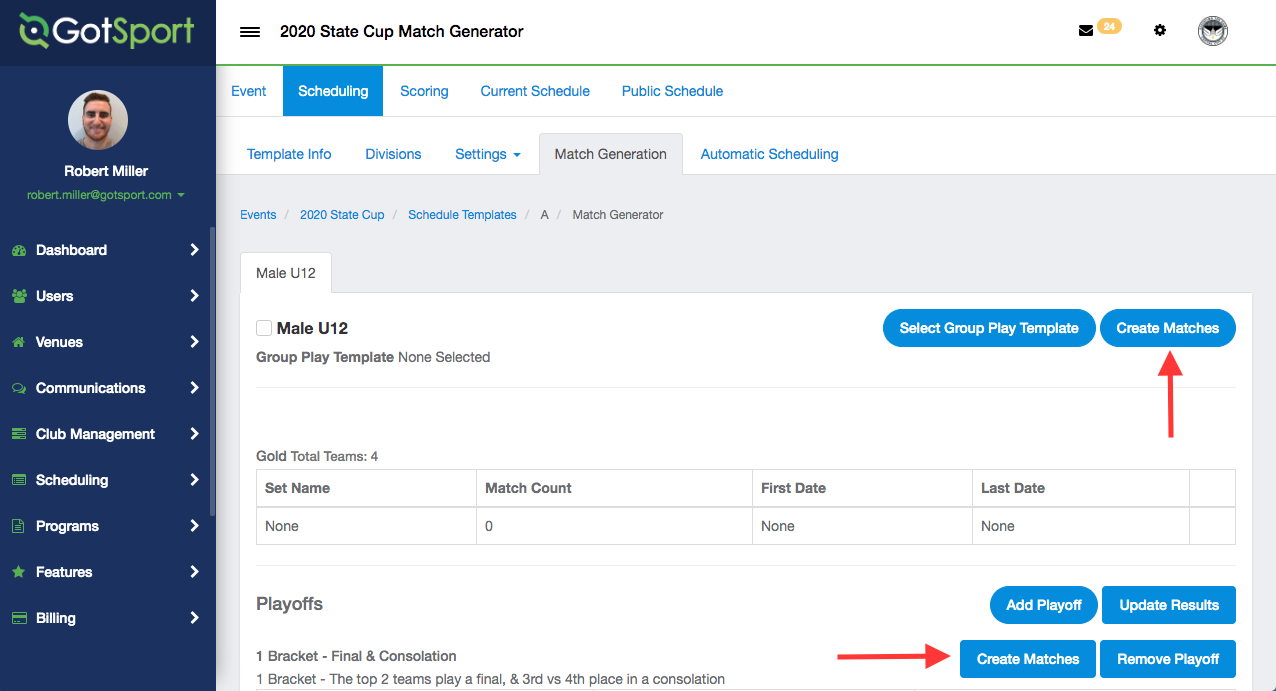
Step 17:
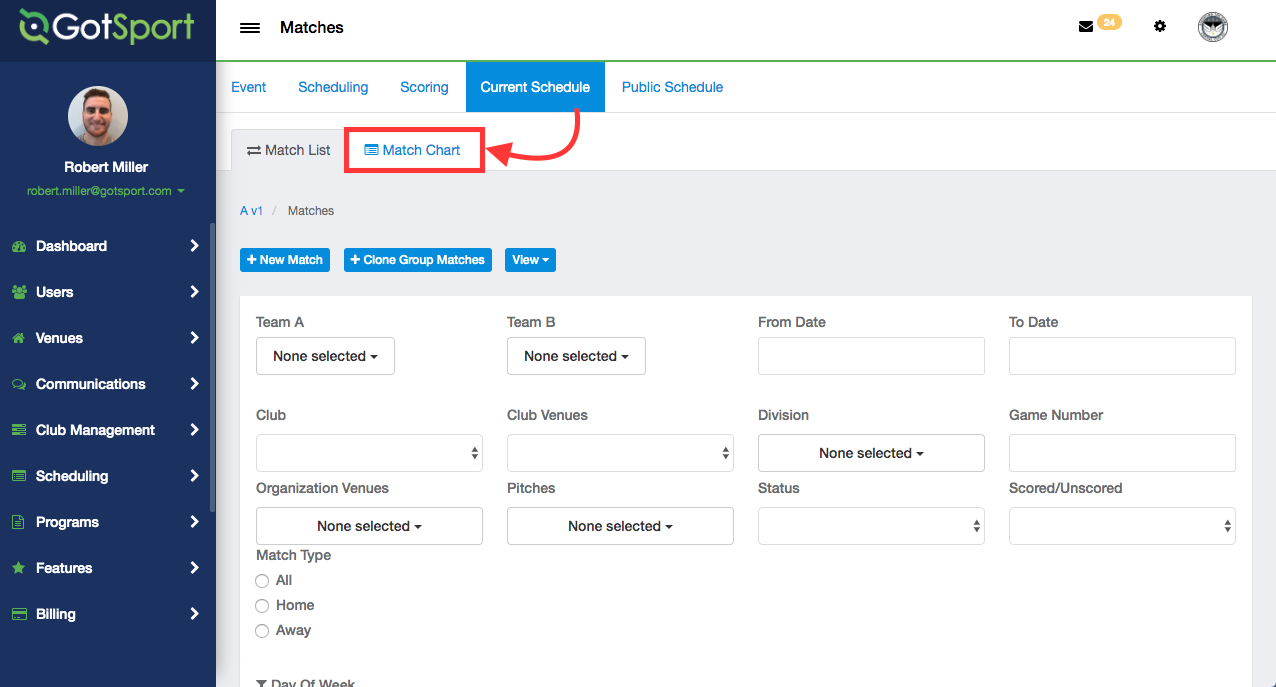
- After you have selected to create your matches, these matches have been created and you will start to schedule them.
- Click the "Current Schedule" tab at the top of your screen and then the "Match Chart" below that.
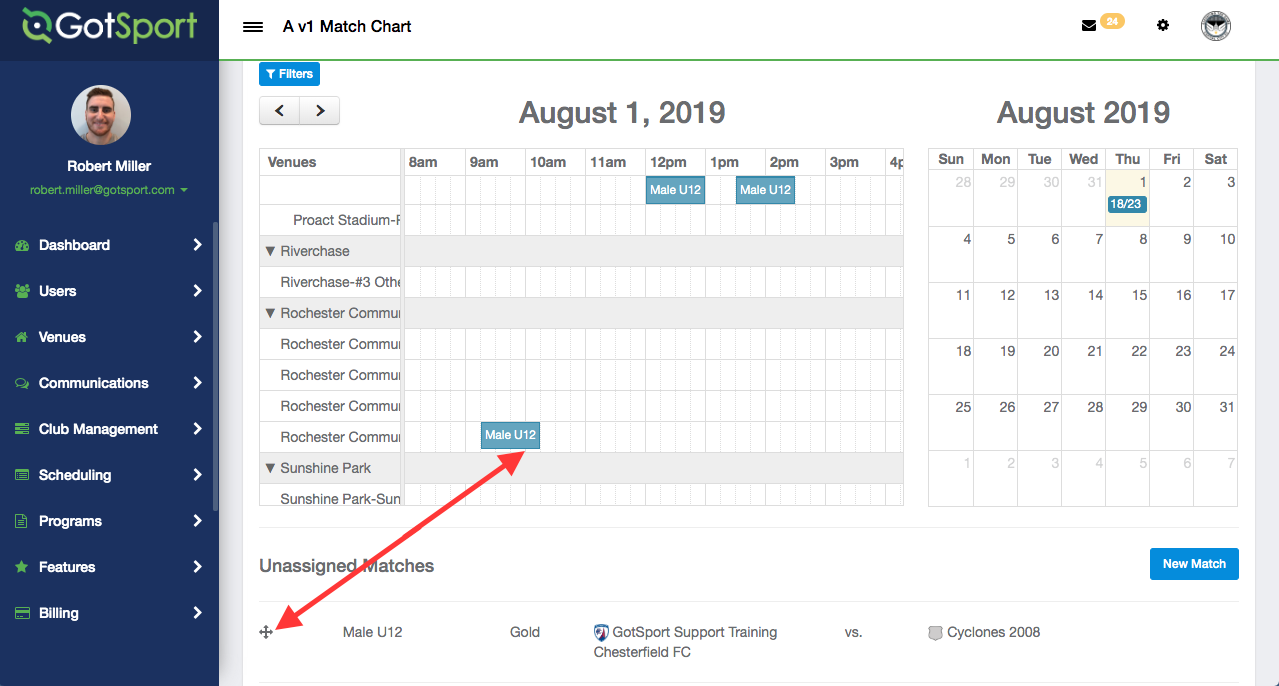
Step 18:
- At the top of your page, you will see you can add filters to view specific schedules. On the left-hand side of the chart, you can select the arrow drop-down to control the visibility of fields within sports complexes.
- On the right-hand side of the screen, you can select which day you are looking at. Finally, below the chart, you will see your unscheduled matches. You will click and drag each of the matches up to their fields and time slots to schedule them.
- You also can click "New Match" and create a new match from this screen.
Step 19:
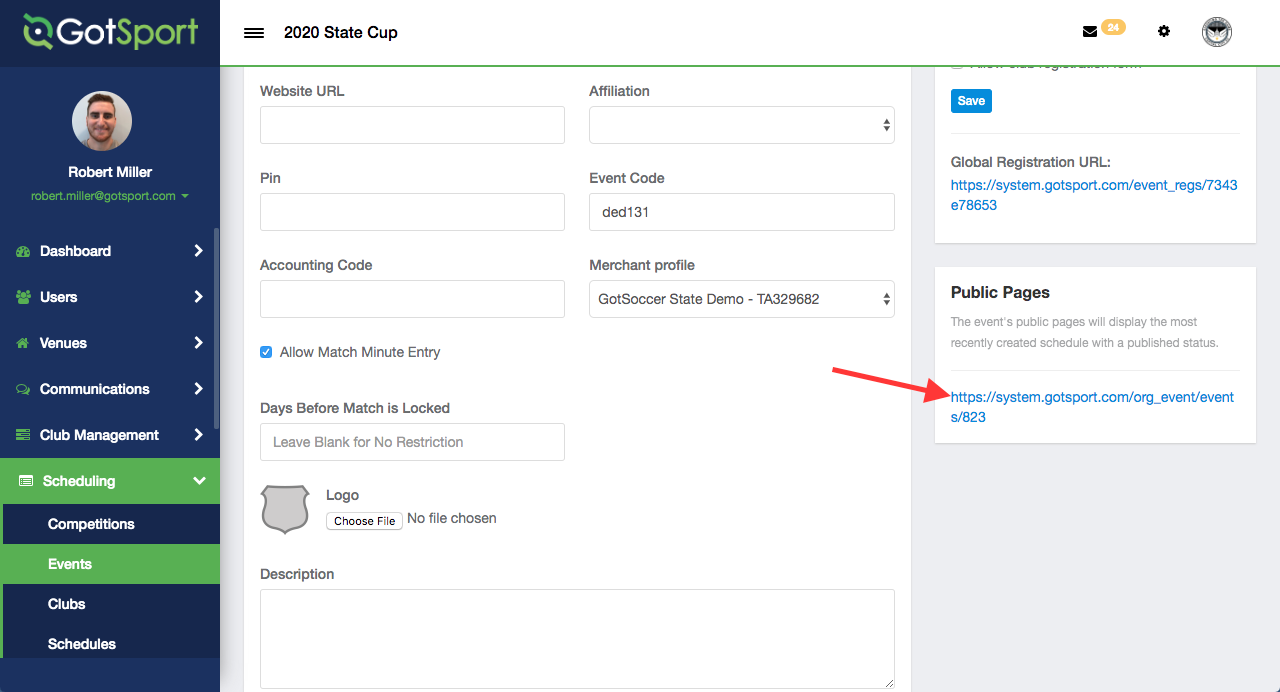
- Once all games are scheduled, you will then publish your schedules.
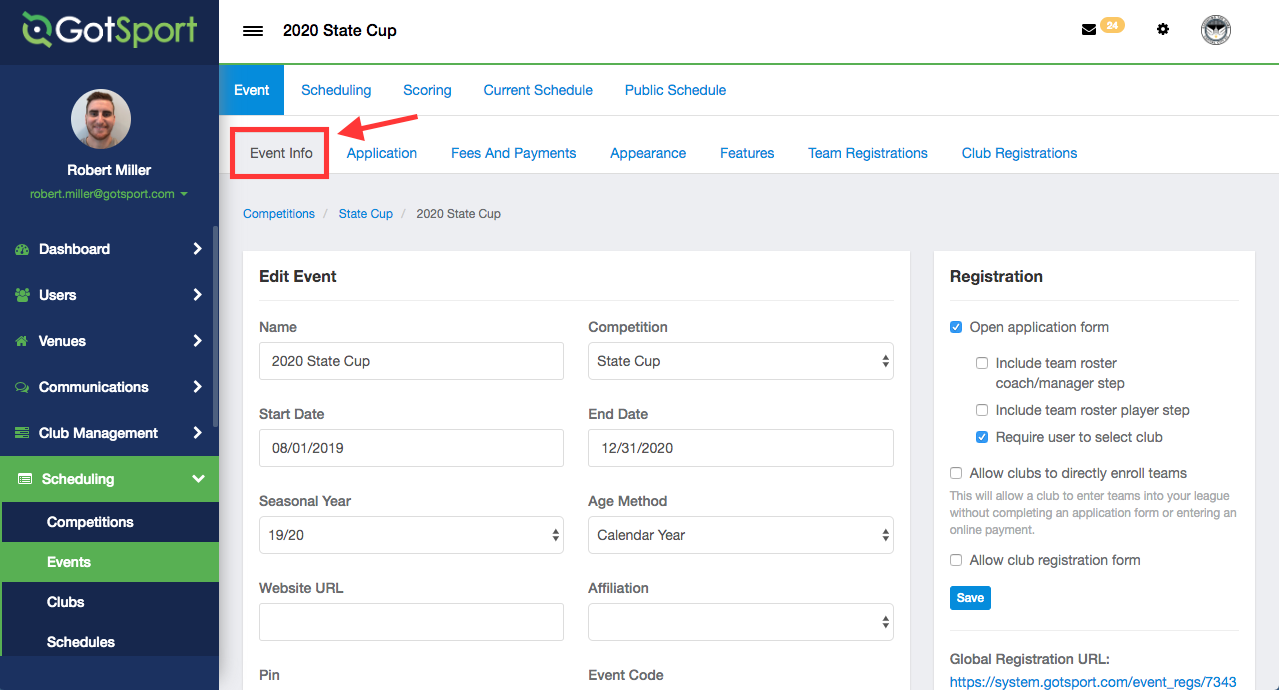
- Click the "Event Info" tab at the top left of your page. Then, on the right-hand side, you will see a "Public Pages" link. That link will be the link you use to show your public schedule.